
If this is your first time making yeast pancakes, this post explains what you need to know to make a terrific breakfast stack.
Pancakes With Yeast
The first time I bought yeast in bulk (2lbs) from Sam's Club, my husband thought I was crazy. Twenty years later, I still keep a stash in the freezer for pizza Fridays, no-knead bread, and these pancakes.
The yeast gives them a subtle, tangy flavor that’s similar to old-fashioned pancakes and buttermilk pancakes, with an incredibly fluffy texture that's just as good as my homemade pancakes.
Yeast Instead of Baking Powder for Pancakes
Using yeast instead of baking powder is another way to give your pancakes a fluffy texture; however, the method for making the pancake batter will be different. It’s my favorite way to make delicious pancakes without baking powder.
Ingredients
Most ingredients are what you’d expect: all-purpose flour as the base, sugar to sweeten, baking soda to help lift and add a tangy flavor, and a little salt. Our hero is yeast, instant or active-dry yeast, mixed with a little water, then milk as the main liquid in the batter, eggs to bind, and butter for moisture.
Active Dry Yeast vs. Instant Yeast for Pancakes
You can use both types of yeast to make pancakes; however, active dry yeast is slower to activate and needs to be proofed before being added to the bowl. Instant yeast can be added directly to the dry ingredients.
How to Make Yeast Pancakes
The detailed steps will be in the recipe card, but here is an overview:
- Activate the yeast.
You can do this the night before and let it sit overnight in the fridge or in the morning, on the counter for an hour. If doing the overnight method, let the yeast bowl sit at room temperature for 10 to 15 minutes. - Make the batter
Mix the dry ingredients, the wet ingredients, and the proofed yeast, and you’ve got batter. - Cook the pancakes
These cook best on a non-stick or well-seasoned cast-iron skillet over medium heat, for about 2 minutes per side. Keep them warm on a plate or in the oven at 200F. - Serve
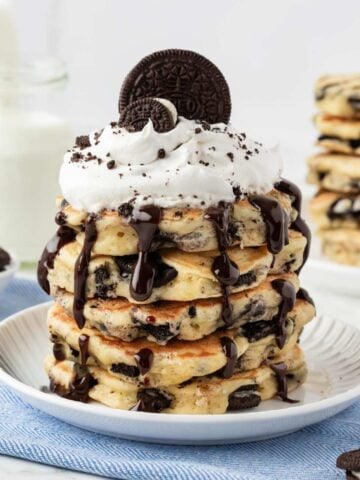
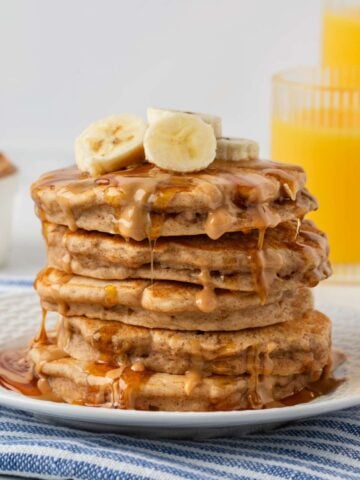
Stack them high, topped with some of the ideas below. Storage tips in recipe card.
Letting the Batter Rise
Unlike traditional pancakes, yeast pancakes need time for the yeast to activate and rise; this will take up to 1 hour on the counter or overnight in the fridge.
What Does the Batter Look Like
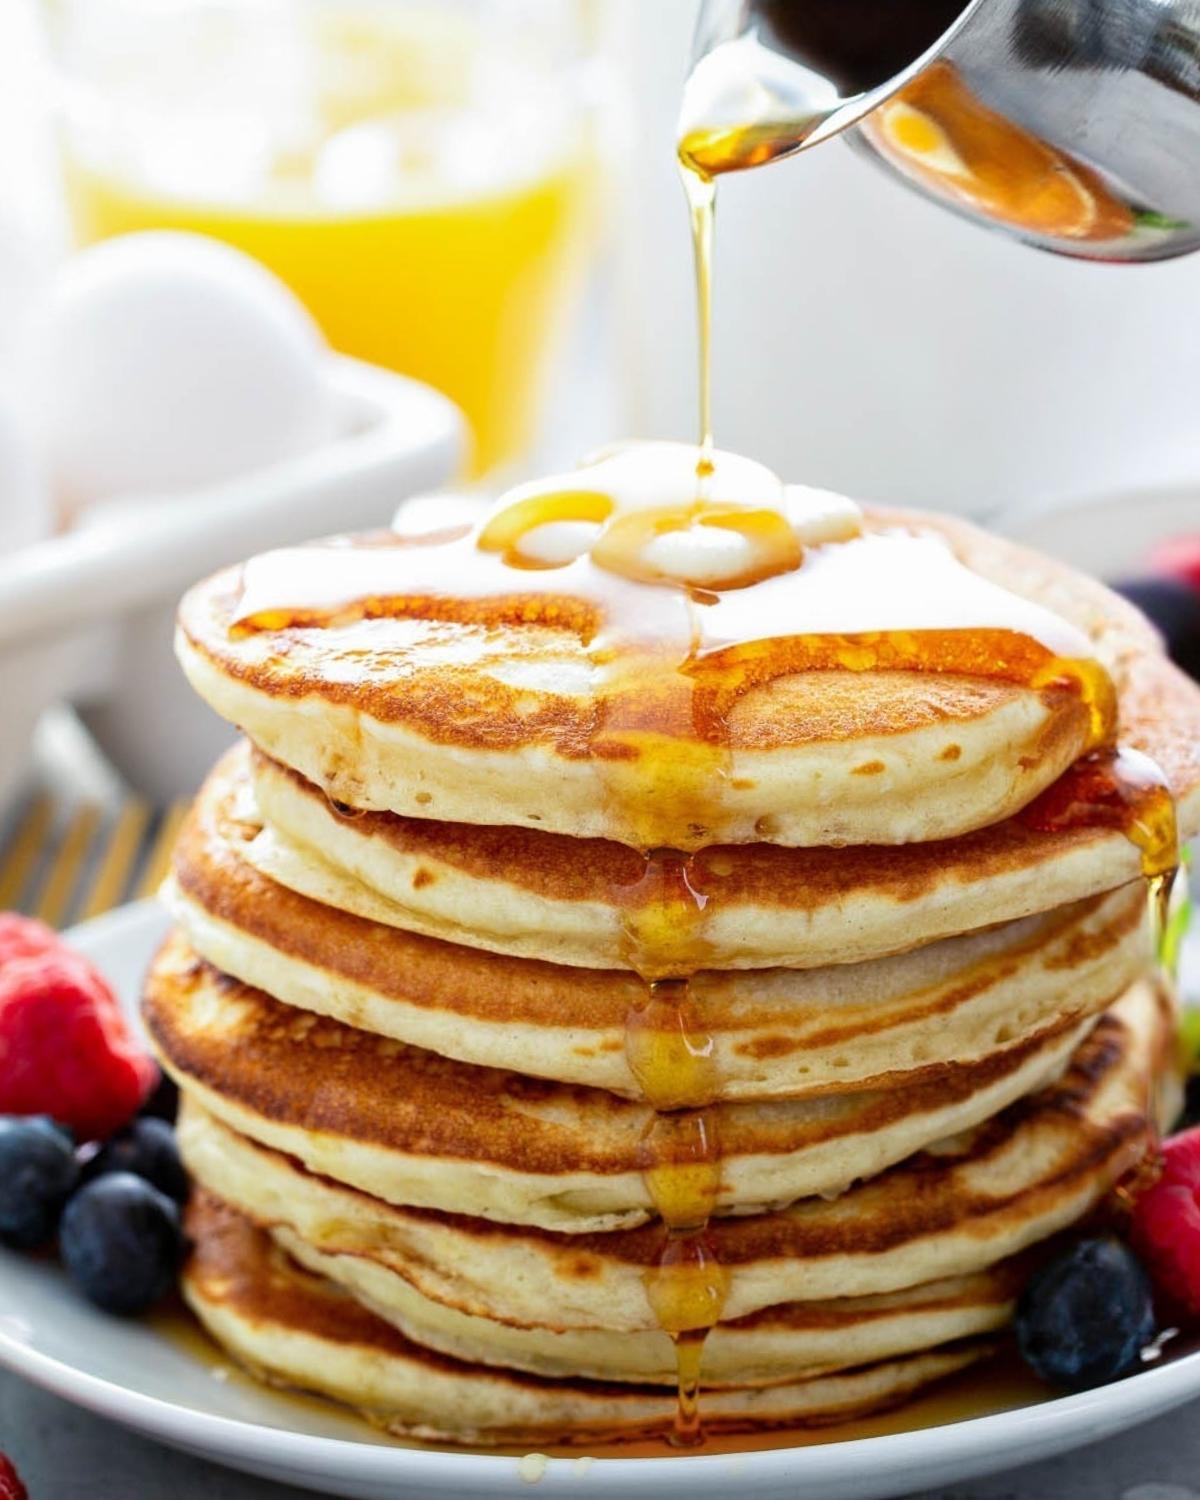
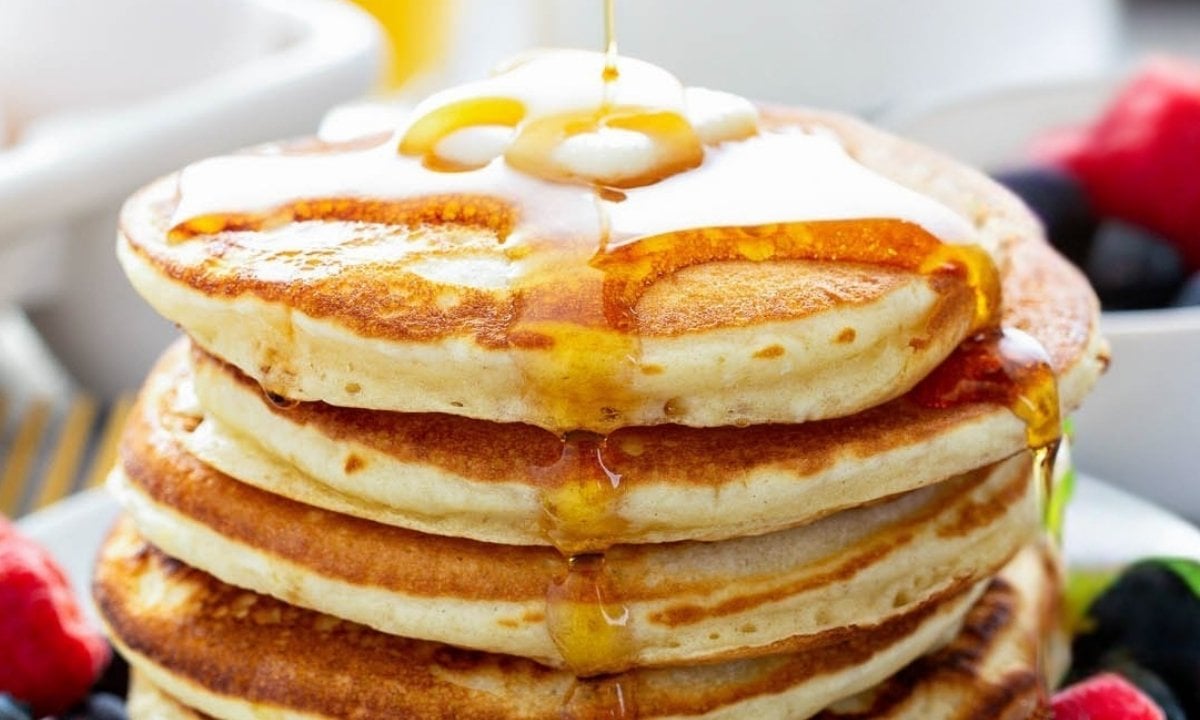
Once risen, the batter should be thick but airy and bubbly, and smell a little like bread. It should not be runny. If it is, don't add more flour; keep the pancakes thin or make yeast waffles instead.
Topping Yeast Pancakes
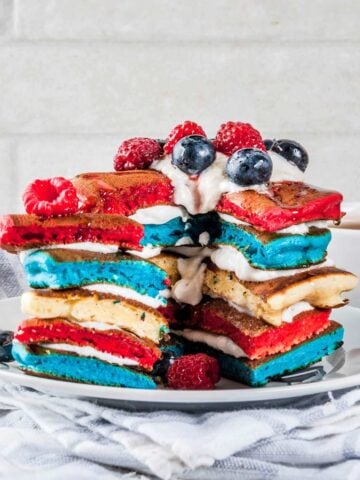
Serve them with brown sugar syrup, butter, and fresh fruit. They make a great pillowy base for my blueberry syrup, this peach syrup, or this strawberry syrup for pancakes; all of which can be made in just 10 minutes.
Yeast Pancakes (Easy Recipe)
Ingredients
- 2 cups all-purpose flour, divided
- 2 ¼ teaspoons active dry yeast*, 1 package (7g)
- 1 ¼ cups milk, any
- ¼ cup water
- 2 large eggs
- ¼ cup butter, melted
- 2 tablespoons sugar
- 1 teaspoon baking soda, optional but recommended
- ½ teaspoon salt
Instructions
Prep:
- Activating the yeast can be done overnight in the fridge or in the morning for 1 hour on the counter. You’re only combining some of the flour to feed the yeast, make sure to plan accordingly.
- In a large batter bowl combine 1 cup of flour and the yeast. Heat the milk and water until warm (120F). If you don’t have a thermometer, use your pinky finger to test it; it should feel warm, not hot. Add the warm liquid to the flour and yeast and with a rubber spatula, mix to combine.
Activate the yeast:
- Cover the mixture with a lid or plastic wrap. Refrigerate overnight, 8 hours minimum, or on the counter for 1 hour. It’s ready when the mixture has approximately doubled in size and bubbles have formed.
Make the batter:
- If you made the yeast bowl the night before, take it out of the fridge and let it sit at room temperature for 10 to 15 minutes.
- In a medium bowl, whisk the eggs and add the melted butter. In another bowl, combine the other half of the flour, sugar, baking soda (if using), and salt.
- With a rubber spatula, give the yeast bowl a stir to mix it. Add the egg and butter mixture to the bowl and the other dry ingredients. Mix to combine until smooth. A few lumps are ok, use a fork to break up any flour clumps instead of overmixing.
Cook the pancakes:
- Heat a large non-stick pan or griddle to medium-high heat. Once hot, grease with oil or butter.
- Immediately, pour ¼ cup of pancake batter onto the hot surface. Cook the pancakes for 2 minutes on the first side, waiting to flip them over when bubbles have formed throughout and the edges look defined. Flip and cook for an additional minute on the other side. Keep the pancakes warm while you cook the remaining batter.
Serve and store:
- Serve the pancakes warm topped with your favorite syrups and toppings.
- Uncooked batter can be refrigerated for up to 2 days and brought to room temperature before cooking. Cooked leftover pancakes can be stored in the fridge for up to 4 days in an airtight container or zip bag or frozen for up to 3 months.
Notes
The recommendations below may include affiliate links.

Kathleen White says
This is great! I made it without the baking soda and even cut the salt in half. It fits with my LoSo diet. I’m so happy since there are not pancake mixes out there that are safe for me.
Meg says
Thank you for sharing this recipe. The batter rose much better than other times I have made pancakes. They came out delicious and filling with the addition of chia seeds and ground flax seeds.
Laura Fuentes says
Thank you for sharing how much you enjoyed these yeast pancakes, Meg! Adding chia and some flaxmeal was a great idea for extra nutrition.
Lisa says
Yummy!!
Margarida says
Lovely!