
This post may contain affiliate links. Read our disclosure policy here.
You’re about to learn to make dairy-free yogurt at home the easy way with this simple recipe I’ve been using for years.

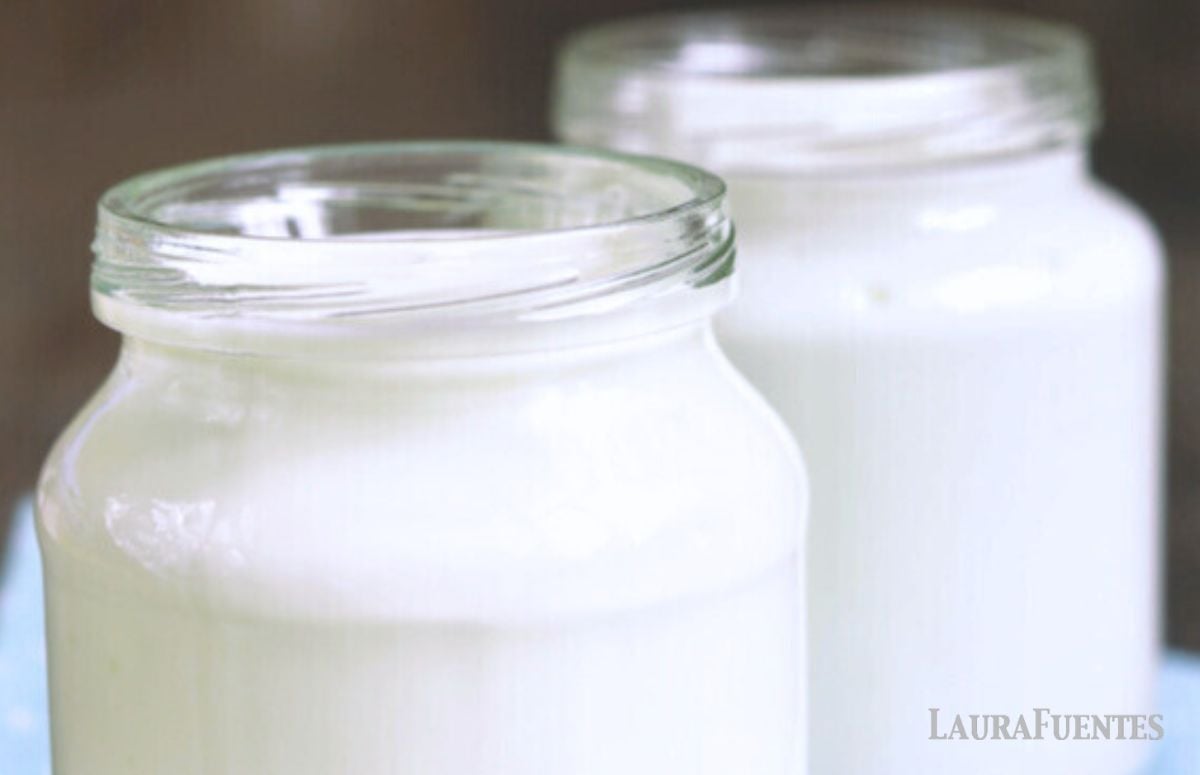
Homemade Dairy-Free Yogurt
When my son was younger, he had many food restrictions and was also an extremely picky eater. Small switches like today's Dairy-Free Yogurt Recipe make everything easier too. It’s just as creamy and delicious as traditional yogurt and perfect for smoothies and yogurt drinks. A total win in a
I make this quick recipe for everyone in our house, even the people with no dairy sensitivities. This yogurt is made with real ingredients, no artificial flavors or sweeteners, and no dairy or lactose, which is a winner for me.
Another reason I love this recipe is that you can use any non-dairy "milk". For the creamiest version, equivalent to traditional full-fat yogurt, use canned coconut milk. I like to use this particular brand that doesn't contain gums as stabilizers.
Ingredients
You’ll find the measurements in the printable recipe card, but first, check out what you need for this Dairy-Free Yogurt Recipe and why:
- Warm water: to dissolve the gelatin.
- Powdered gelatin: gives the yogurt structure.
- Canned coconut milk: for a real yogurt-like texture, I recommend full-fat coconut milk.
- Unsweetened almond milk: my favorite for this recipe.
- Maple syrup or honey: it’s optional to add sweetness.
How to Make Dairy-Free Yogurt
This recipe proves that making dairy-free yogurt at home is anything complicated. Take a look at the steps and you’ll see how easy it is!
- Prep the jelly
Start by stirring gelatin and warm water together in a small bowl. Allow it to sit for 10 minutes until it forms a gel-like mixture. - Simmer the milk
Meanwhile, warm coconut and almond milk, and maple syrup in a saucepan. Bring to a simmer, stirring constantly. - Combine
Whisk the gelatin mixture into the milk until it completely dissolves. If you are using active cultures in this yogurt recipe, add them now. - Refrigerate
Divide the liquid between 4 yogurt ramekins or mason jars. Cool to room temperature and refrigerate overnight.
Storing Homemade Yogurt
Allow the yogurt to cool down to room temperature before refrigerate it overnight. You can store homemade dairy-free yogurt glass yogurt ramekins or mason jars in the fridge for up to a week, long enough to use it in many delicious ways! Want to freeze yogurt? Check out this post.
How to Use Dairy-Free Yogurt
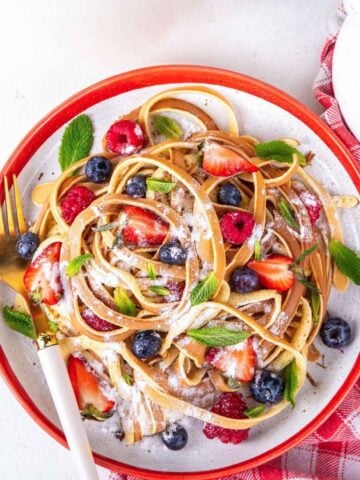
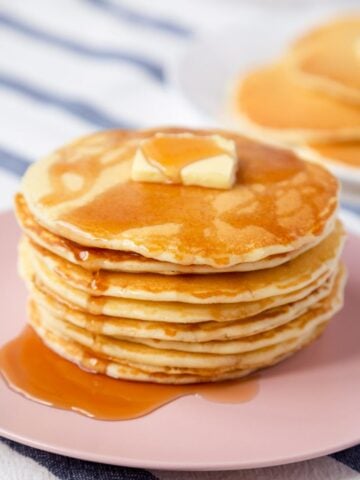
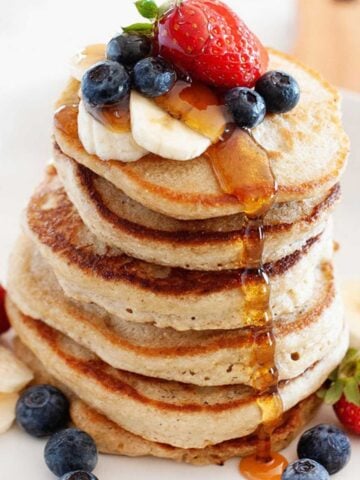
Now that you know how easy it is to make dairy-free plain yogurt with this recipe, try adding fruit preserves or fresh fruit to the bottom of the dish or jar a homemade fruit-at-the-bottom yogurt, or use it to make yogurt pancakes!
I also use it to send a lunch box parfait to school for my dairy-free son. It's also perfect for serving for breakfast with granola, nuts, or sliced fruit, or to add to your favorite smoothie recipes for a little bit of extra creaminess without any dairy.
Dairy-Free Yogurt Recipe

Ingredients
- 2 tablespoons warm water
- 1 ½ teaspoons powdered gelatin
- 1 cup canned coconut milk
- 1 cup unsweetened almond milk
- 2 tablespoons maple syrup or honey, optional
Instructions
Prep:
- Place warm water and gelatin in a small bowl. Stir to combine and let it sit for 10 minutes to form a jelly-like mixture.
- Meanwhile, in a medium saucepan, whisk coconut and almond milk with maple syrup over medium heat. Allow it to come to a simmer, stirring constantly.
Combine:
- Remove the warm milk from heat and whisk gelatin mixture into the milk until it completely dissolves.
- If using active cultures, add it here and whisk to incorporate.
Refrigerate
- Divide yogurt mixture between 4 6-ounce glass yogurt ramekins or mason jars. Allow the yogurts to cool down to room temperature, cover, and refrigerate overnight.


Darrien says
Think I’ve done something wrong. I did everything as per recipe except that I added in some strawberries, blueberries and pineapple that I pureed into the milk and then cooked it up. it’s still cooling but there’s a layer of watery liquid that’s fallen to the bottom and the white is rising to the top. Looks like it’s separating? Should I have added the fruit after it cooked or once cooled a bit? I’m not sure. Really liked this recipe hoping it will turn out okay, otherwise I’ll await a response and try again. Also I noticed that my coconut milk was very watery to start with, should I try a thicker one?
Laura Fuentes says
Hi Darrien, the mixture should thicken once it fully cools and out of the fridge. I do recommend adding fruit after since adding it to the yogurt will alter the coconut milk & gelatin ratios so this means that there’s not enough gelatin to give you a thicker yogurt-like consistency. Coconut milk should not be very liquidy, did you use canned?
Candy says
I plan on making this yogurt. The last batch I tried was a failure but this looks easy enough. Do you put the whole can of coconut milk in, water and all? And do I need active cultures? It would be so nice to make my own as my grocery store doesn’t carry dairy free yogurt. Thank you for your help…
Aviela Emmanuel says
Hi please can i make it with rice milk only without any probiotics or culture I need answer as soon as possible
MOMables-Laura says
Hi Aviela, you can try it with rice milk but it may be a little runny. No probiotics are needed.
Lindi says
Can this be frozen?
MOMables-Laura says
Yes, you can check out how to freeze yogurt here: https://www.momables.com/freeze-yogurt/
Julie W says
Looks yummy!
Have you considered adding probiotics to this to help with the gut?
Thank you! Julie
MOMables-Laura says
You can add probiotics to this recipe. I’ve done so before. Make sure to add them just after stirring in the gelatin.
Chloe says
Is there any type of probiotics that are recommended to use? Or can you use any? I’m making it for my daughter and she needs probiotics in the yoghurt.
MOMables-Laura says
Hi Chloe you can use any of your favorite probiotic strains in powder form to make this yogurt. Just stir it into the gelatin mixture then add it to the warmed milk.
Erika higginson says
I would use a dairy free one much better if dairy free