
This is the perfect beginner recipe for cinnamon raisin bread, with easy step-by-step guidance whether you're trying it for the first time or have failed loaves before.
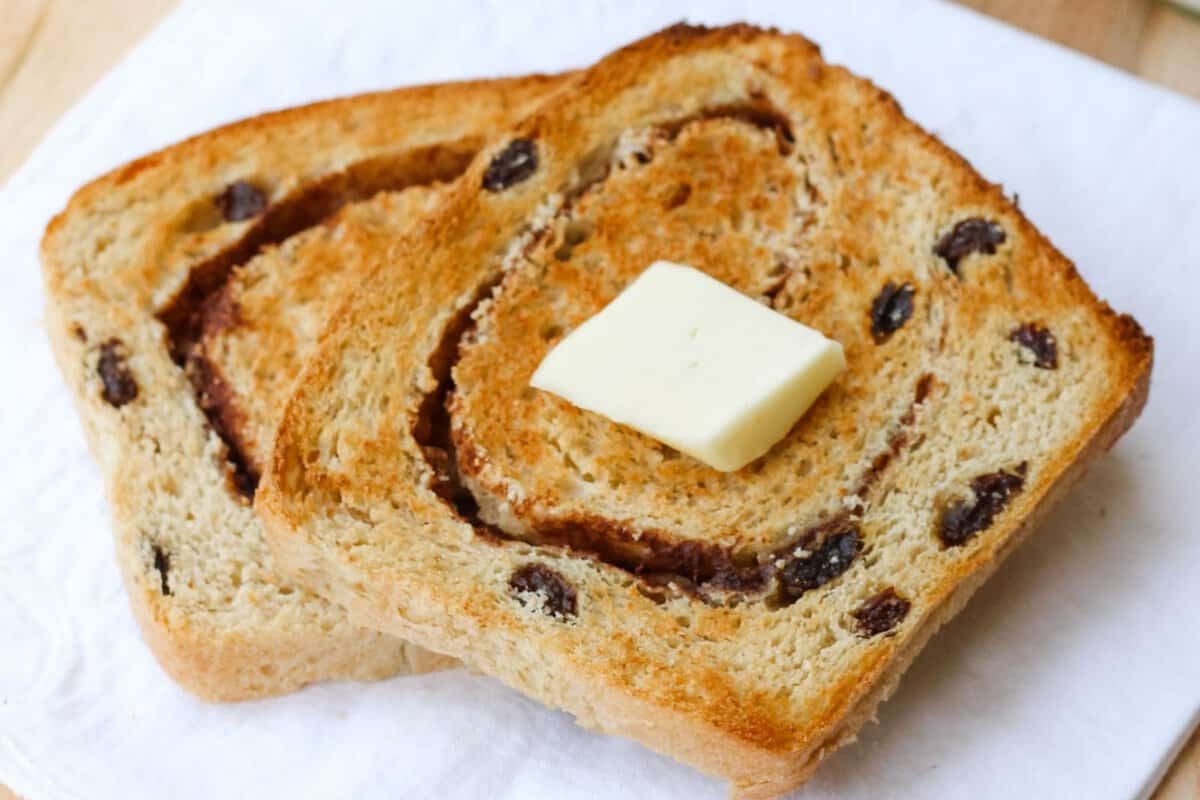
Homemade Cinnamon Raisin Bread

When I met my husband back in 2000, he would make cinnamon raisin toast for himself upon returning home from our night class in graduate school. And to this day, crispy, buttery cinnamon raisin bread dipped in cold white milk is still one of his favorite things to eat late at night, as well as our kids’!
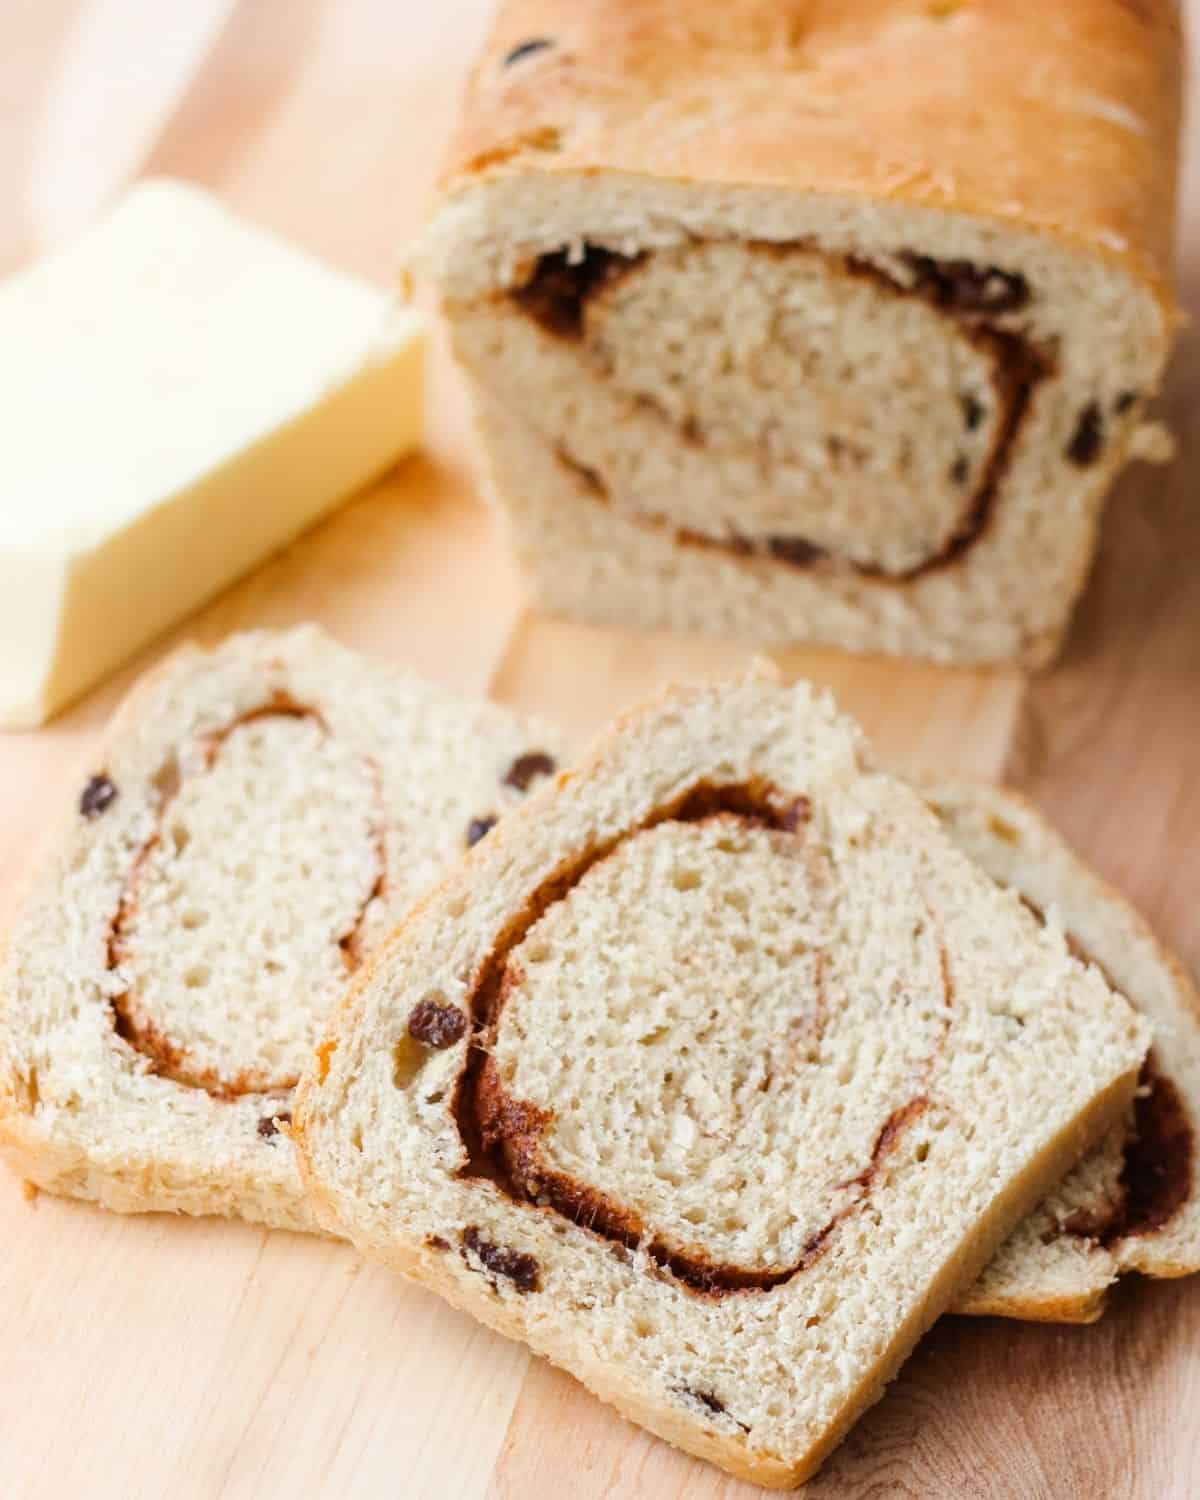
After you try a slice of this homemade cinnamon raisin bread, you'll never want to buy it store-bought again. Every bite has the perfect cinnamon swirl with plenty of sweet raisins.
Ingredients
The wet ingredients are milk, eggs, butter, and golden or regular raisins. You’ll use warm water to activate the dry yeast. The dry ingredients needed are white sugar, salt to enhance the flavor, all-purpose flour, and cinnamon.
Is Cinnamon Raisin Bread Healthy?
This bread is a healthier choice than store-bought simply because it’s made without any preservatives and with wholesome ingredients. That said, all cinnamon raisin bread recipes have sugar, so it’s definitely something to be enjoyed in moderation.
How to Make Cinnamon Raisin Bread
- Activate the yeast.
Dissolve the yeast in warm water and set aside for 10 minutes until the mixture has “bloomed” (developed foam at the top). - Make the dough.
Cream the eggs, sugar, butter, and salt in the stand mixer. Add room-temperature milk and bloomed yeast, and mix slowly. Add the flour and mix until a dough has formed. Add the raisins and give it one last mix. - Knead.
Knead the dough on the floured surface until it’s smooth. If the dough is sticky, dust it with a little extra flour, just enough to fold over. - Let it proof.
Transfer the dough to a bowl greased with oil spray or butter. Cover with a damp kitchen towel and place in the oven for 1 ½ hours, until doubled in size. - Roll it out.
Roll the dough out into a large rectangle about ½-inch thick and 8 to 9 inches long. Brush the surface with 2 tablespoons of milk or melted butter. Sprinkle the cinnamon-brown sugar mixture over the moistened dough. - Roll it up.
Roll the dough lengthwise, and transfer it into a greased 9 x 5-inch pan. Brush the top with melted butter. Let the dough rise in a warm place for 1 hour. - Bake.
Bake in a preheated oven for 45 minutes or until lightly browned. Let the bread cool slightly before removing it from the pan.
Laura’s Baking Tips
You can use some whole wheat flour in this recipe, up to 1 cup; any more than that, and the loaf will be VERY dense, and you’ll need to add vital wheat gluten (about 1 ½ to 2 teaspoons).
I made this bread in a 9 x 5-inch loaf pan, but you could also bake it in a 9-inch round cake pan and slice it the same way you would slice a boulle.
This can be tough, but allowing the dough to rise twice is a must and is the only way to ensure that the bread will properly rise. Plan accordingly.
Yes, but I recommend measuring the ingredients twice in two separate batches. When making bread, it’s not as easy as doubling all the ingredients and dividing the dough; this often results in a dense loaf or bread not rising properly. If you’re a seasoned baker and are comfortable doubling the recipe and have a feel for dough consistency, by all means, I’ve often tripled the batch myself.
Yes! Cinnamon raisin bread makes delicious French toast. Just make sure you cut the slices thick so the egg absorbs well and the bread doesn't get soggy.
How to Freeze Cinnamon Raisin Bread
Let the bread cool completely before slicing, then place the slices on a lined sheet pan; once frozen, transfer them to a freezer-safe zip bag. You can freeze cinnamon raisin bread for up to 2 months. To serve, let it thaw out for a few minutes before toasting.
You can also freeze whole, baked loaves of cinnamon raisin bread in a freezer bag for up to 2 months. When ready, transfer the loaf to the fridge and slice as needed, consuming it within 3 days.
Cinnamon Raisin Bread Loaf Recipe

Ingredients
Dough
- ⅓ cup water, warm
- 1 ½ teaspoons active dry yeast
- 1 egg
- 1 ½ tablespoons sugar
- 2 tablespoons butter, softened
- 1 teaspoon salt
- ½ cup milk, warm
- ⅓ cup raisins
- 3 cups all-purpose flour, + more for dusting
- 1 tablespoon milk
Filling
- ⅓ cup brown sugar
- 1 tablespoon cinnamon
- 1 tablespoon butter, melted
Instructions
Activate the yeast:
- In a measuring glass or cup, dissolve yeast in warm water and set it aside for about 10 minutes to bloom (for developing a ½ to 1 inch of foam at the top, the bloom).
Make the dough:
- Meanwhile, to the bowl of your stand mixer, add the egg, sugar, butter, and salt, and using the paddle, cream well. Add the warm milk and the bloomed yeast and water mixture to the bowl, and combine.
- Slowly add the flour to the bowl while the mixer is on medium-low speed until a dough forms. Add the raisins and give it a mix over.
Knead:
- Flour your counter or work surface lightly, and transfer the dough onto it. Knead it a few times to combine. If the dough feels sticky, lightly sprinkle a little more flour, just enough to fold over.
Let it rise:
- Grease a large bowl with spray, oil, or butter, and transfer the dough ball. Cover it with a warm, damp kitchen towel and let it rise for 1 ½ hours until it has doubled in size.
- Transfer the dough out of the bowl onto a lightly floured surface, and roll out the dough into a rectangle about ½ inch thick and 8 to 9 inches long (the size of your baking pan).
- Brush or use your hands to lightly brush milk over the dough. You could use melted butter instead.
- In a small dish, combine brown sugar and cinnamon and sprinkle the mixture over the dough.
- Roll the dough lengthwise, and transfer the rolled log into the prepared loaf pan. Brush the top of the dough in the pan with melted butter.
- Let the dough rise once more, in the pan, for one hour.
Bake:
- Place the top baking rack in the middle position of the oven and preheat the oven to 350F.
- Bake in the preheated oven for 45 minutes until the loaf has browned at the top and it sounds hollow when tapped.
- Remove from the oven and let it cool down slightly before transferring it out of the pan onto a cooling rack. Once fully cooled, slice into 8 slices and enjoy.
The recommendations below may include affiliate links.



manilagirl says
hi laura, i’m planning to do this tonight, just a few questions:
1. can i replace the 1 cup lukewarm water with 1 cup lukewarm milk for proofing?
2. can i refrigerate this overnight and bake it the next morning?
thank you! 🙂
Laura Fuentes says
You can absolutely do both!
Perpetua says
Hi, I’m gluten-free and I just wanted to know if anyone’s tried Bob’s Red Mill Gluten-Free All-Purpose flour with this recipe and what their results were. Because I’m allergic to rice, that’s pretty much the only rice-less, gluten-free, all-purpose flour I can eat.
Thanks so much in advance!
Laura Fuentes says
Perpetua, I’ve tried this recipe with gluten free flour and it does not work. #1 gluten free baking requires only a single rise, this recipe requires two. Sorry!
Neeta says
Hi,
I want to make this recipe except I don’t have that big an oven. So should I third the recipe or can I make the dough as you have indicated and may be keep the rest in the fridge till I am ready to bake the next loaf… Or is it okay to leave it outside when one loaf is baking? Plz let me know. Definitely want to make this one. Thanks a lot.
Regards
Neeta
Karen says
These just came out of the oven and wow do they ever smell good!! The recipe is simple and well written . I only needed about 7.5 to 8 cups of flour and I kneaded it for a few minutes by hand . I used quick rise yeast which cut rising time also.thanks Laura for another awesome recipe . My kids love your pancakes and blueberry syrup too!!
Laura Fuentes says
So glad you liked this recipe Karen! Enjoy!
Jenny says
Thank you! I was confused because it looked like the butter was listed in the ingredients under the filling section.
I am making them right now, about to go in the oven. Can’t wait to try them! My 4 year old helped make them, and loved kneading the dough.