
This easy recipe for Blackstone pancakes yields enough to feed a crowd. With the tips in this post, you’ll cook them perfectly on your favorite flat grill.

Can You Make Pancakes on the Blackstone?
Yes! Using my Blackstone to make pancakes is my favorite way to cook an entire batch of pancake batter for my family or when I’m making pancakes for a crowd. The hot, seasoned flat cast-iron surface is perfect for cooking pancakes because once it’s hot, it retains the heat well and cooks the pancakes evenly.
Ingredients
The measurements for these Blackstone pancakes are at the end of the post, but before making any swaps, check out what you'll need and the substitutions I've tested:
- Flour: regular all-purpose flour is the base for this recipe. It can be swapped with a 1:1 gluten-free all-purpose flour.
- Baking powder: essential to making fluffy pancakes. If you're out, I have a recipe for pancakes without baking powder here, you’ll need to double it but follow the process.
- Salt: a little to enhance the flavor of the other ingredients.
- Sugar: just enough to make these pancakes lightly sweet.
- Milk: use regular milk or your favorite non-dairy alternative. If using oat milk for pancakes, add a little extra, about 2 TB since its texture is thicker.
- Vanilla: added for flavor, can be omitted.
- Egg: to bind the ingredients and help the pancakes hold together. This is not an eggless pancake recipe, and using one of these egg substitutes for pancakes doesn’t hold up as well on the grill.
- Butter: adds a delicious buttery flavor and moisture to the batter.

How to Make Blackstone Pancakes
Making pancakes on the Blackstone is similar to cooking pancakes on a cast iron pan, except outdoors. Some tips within the steps that ensure the best fluffy pancakes are:
- Make the batter
The recipe below makes a big batch of pancakes so you can pour until your heart is content and serve a crowd. Make the batter first and let it sit while you prep the Blackstone. - Prep the Blackstone
Preheat the cast iron surface and remove and remove any grease or debris from other foods you might have cooked. Wait until it’s hot to distribute a thin coat of oil and use the metal spatula to spread it around. - Cook the pancakes
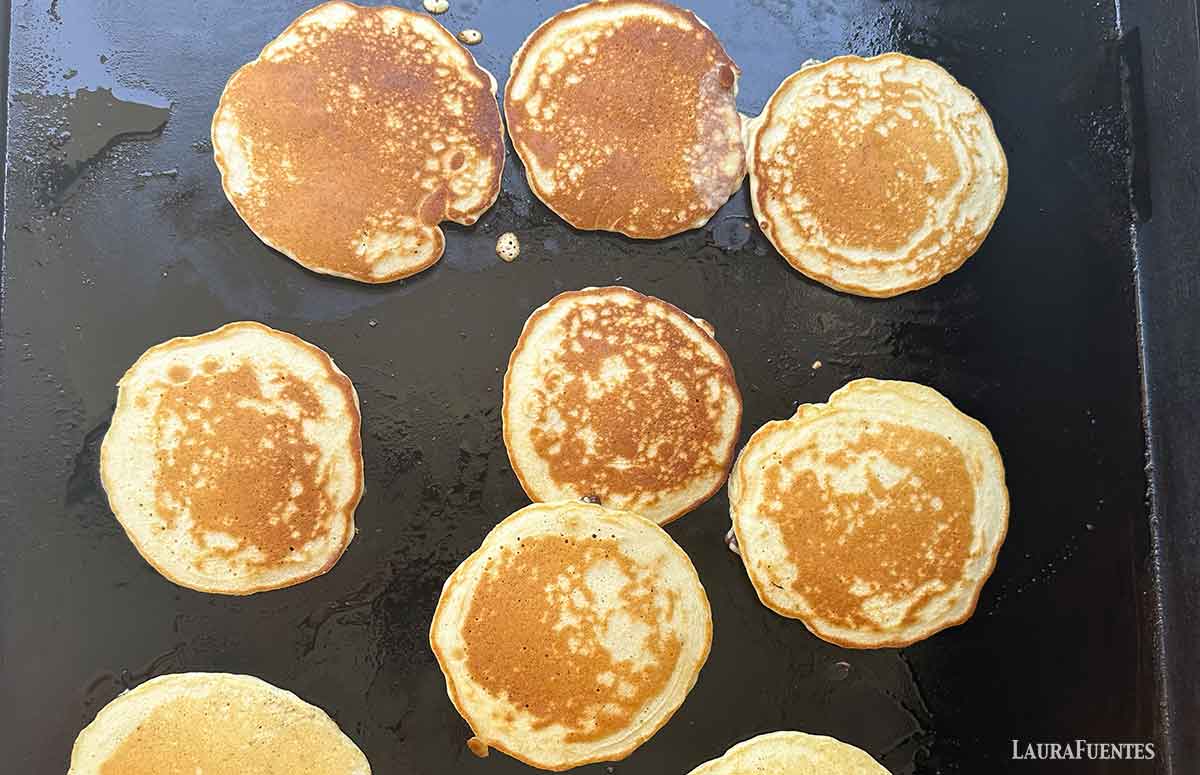
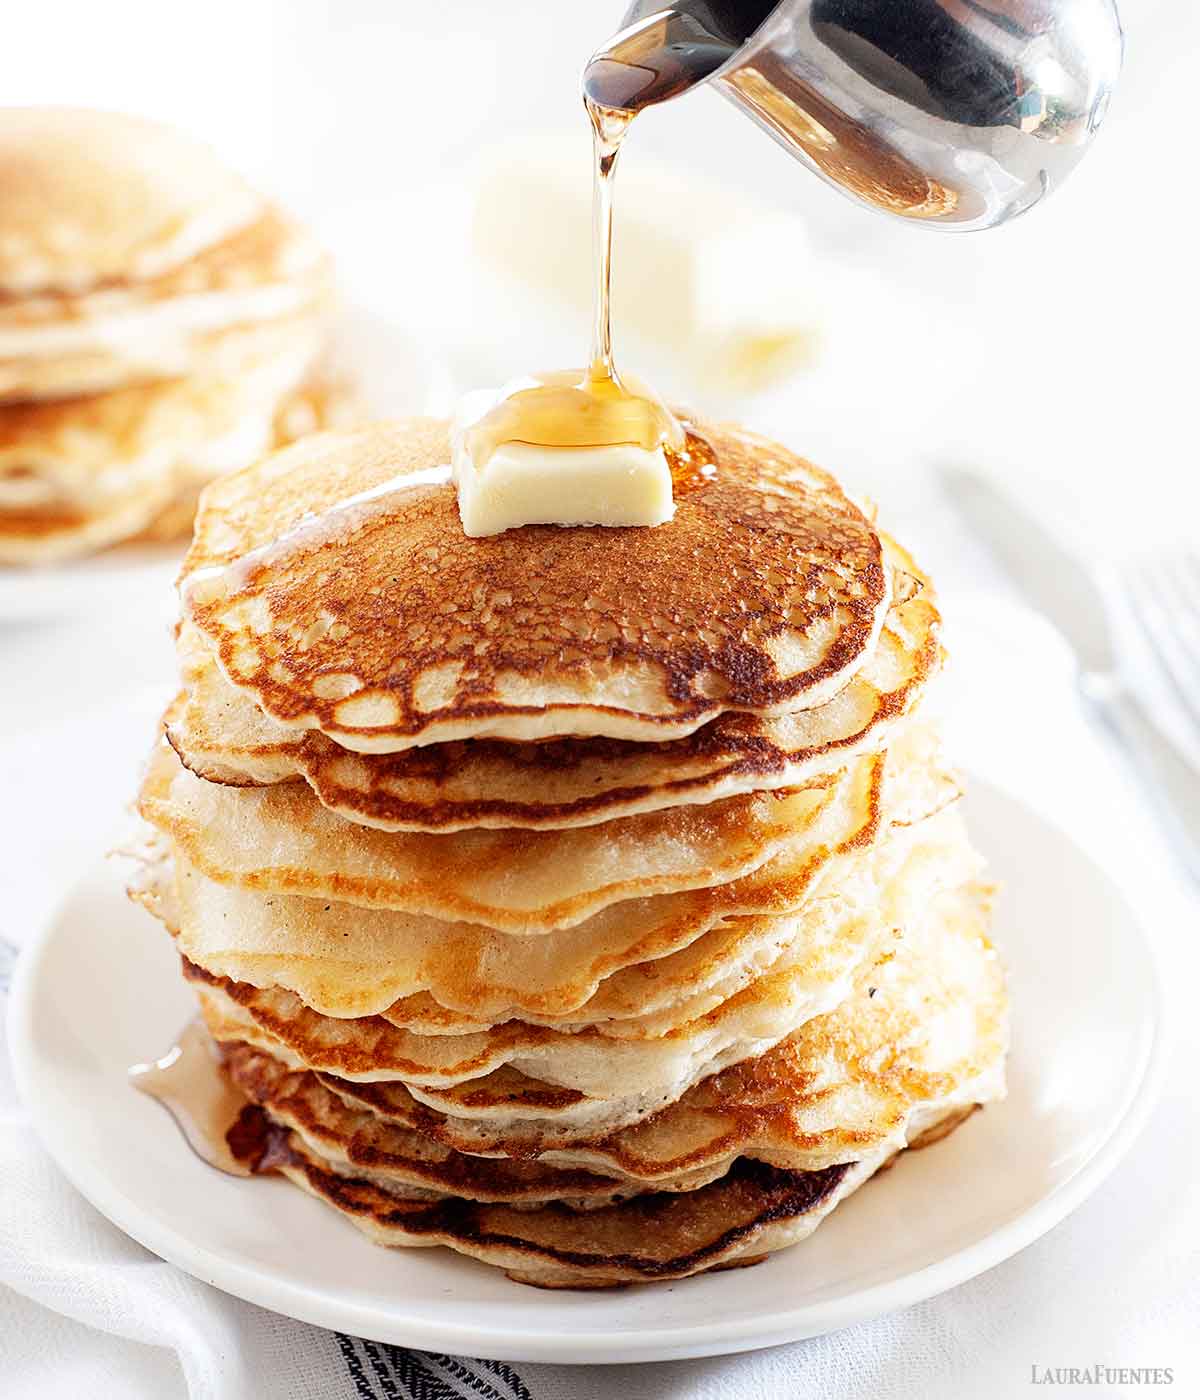
The best part is that you can make as many pancakes as you can fit at once! I like to pour about ¼ cup of batter per pancake. See the tips below specifically for flipping them over and keeping them warm. - Stack them high
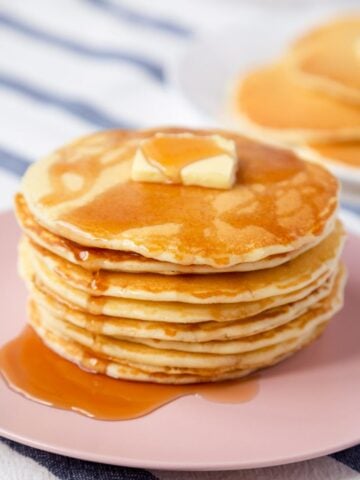
Serve them hot off the Blackstone grill or keep them warm. Either way, load them up with your favorite pancake syrups and healthy toppings.
What Temperature to Cook Pancakes on the Blackstone
I like to preheat the Blackstone grill with the knob turned a little past the middle; this means about medium-high heat. The cast iron surface retains heat very well and once it’s hot, I grease it before pouring the pancake batter on top.

Oil or Butter for Greasing the Blackstone
I recommend using a neutral oil with a high smoke point, such as vegetable oil or avocado oil to grease the Blackstone before cooking pancakes. Save the buttery flavor for after the pancakes are cooked, since it burns quickly on this hot surface.
When to Flip Blackstone Pancakes
Similar to when I cook pancakes in a pan or skillet, I always recommend waiting until the edges are defined and bubbles have formed throughout to flip the pancakes over on the Blackstone. Waiting until this step is crucial because you’ll be using the metal spatula which makes pancakes more prone to breaking.
Watch this quick video for tips & tricks to successfully make fluffy pancakes on the Blackstone.
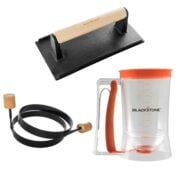
Using the Blackstone Pancake Dispenser
While I didn’t take these photos of using my pancake dispenser, it’s a great little tool for pouring an even amount of pancake batter onto the Blackstone surface.

Add-Ins
What I love about cooking a big batch of pancakes on the Blackstone is that I can easily customize our pancakes with everyone’s favorite pancake add-ins!
You can add up to 1 cup into the batter bowl or if you’re using the batter dispenser, add them on top of the pancakes after you pour the batter. Some of our favorites:
- Chocolate chips
- Sliced strawberries
- Blueberries
- Sprinkles
- Banana slices
How to Keep Blackstone Pancakes Warm
The large cast iron surface is perfect for keeping pancakes warm! I like to reduce the heat to the lowest setting on one side of the Blackstone and move all the cooked pancakes there as I finish cooking the entire batch. In the summer, when it’s hot outside, I often turn that burner completely off.
Another way to keep them warm is to place a metal baking sheet on top of the side tray of the Blackstone, where warm air comes out of the side vents. The metal tray warms up, and the pancakes stay warm. Use pot holders to lift the tray afterward since it will be hot.
Serving Pancakes for a Crowd
Since it’s easy to keep the pancakes warm near or on top of the Blackstone, I recommend cooking eggs after you’ve cooked the pancakes. Then, build a stack and serve them hot with your favorite pancake toppings, my famous strawberry syrup, blueberry syrup, or a homemade sugar syrup like Grandma used to make.
Fluffy Blackstone Pancakes

Watch how it’s made:
Ingredients
- 3 cups all-purpose flour
- 1 ½ tablespoons aluminum-free baking powder
- ½ teaspoon salt
- 2 tablespoons sugar
- 2 ½ cups milk, any
- 2 teaspoons vanilla extract, optional
- 2 eggs
- 6 tablespoons butter, melted
Instructions
Make the batter:
- In a large bowl, sift together the flour, baking powder, salt, and sugar. Make a well in the middle and pour in the milk, vanilla, egg, and butter. Break up the egg first with a fork, and then begin to combine the flour, working from the outside of the bowl in, until just combined and mostly smooth.
Prep the Blackstone:
- Preheat the Blackstone on medium heat, turning on the burners under the surface where you’ll be pouring the batter. Once hot, spread oil on the surface and use the back of a Blackstone metal spatula to spread it around.
Cook the pancakes:
- Immediately, pour ¼ cup of pancake batter onto the greased surface of the Blackstone for each pancake. Cook the pancakes for about 2 minutes, until the edges look defined and bubbles form.
- Flip the pancakes over, in the same order the batter was poured, and cook on the other side for another minute. Use the metal spatula to remove the pancakes from the Blackstone onto a baking sheet or large platter.
- Tip: keep the pancakes warm on one side of the Blackstone by turning off the burner underneath while you cook the rest of the pancake batter.
- Plate a few pancakes on a plate and top them with your favorite toppings and syrup.
Store:
- Leftover pancakes can be refrigerated for up to 3 days or frozen in a single layer in a zip bag for up to 3 months. Microwave them for 30 seconds, then heat them up again using the toaster or toaster oven.
Notes
- This recipe yields 8 servings, about 24 pancakes. To make a smaller batch, half the size, you’ll need 1 ½ cups all-purpose flour, 2 ½ teaspoons baking powder, ½ teaspoon salt, 1 tablespoon sugar, 1 ¼ cups milk, 1 egg, 3 tablespoons melted butter.
- Use the right baking powder: Since pancake batter naturally has a mild, neutral flavor, it’s important to use aluminum-free baking powder. The metallic flavor will ruin the taste, especially in fluffy pancake recipes that call for 2 or more teaspoons. Trust me on this one.
The recommendations below may include affiliate links.

Jack says
Fluffy and delicious and I was able to make a huge batch in one swoop on the blackstone.
Bina says
My grammy used to use a flat griddle for hers and let me tell you, this recipe is right alongside hers years later
Ella says
these pancakes turned out amazing on our Blackstone the perfect weekend breakfast!
Mary says
Made these over the weekend and they turned out great! Fluffy and absolutely delish! Who knew blackstone pancakes were so delicious!
Linda says
Lots of family in town this weekend for the summer, and we had so much fun making these fluffy pancakes outside on the blackstone!