
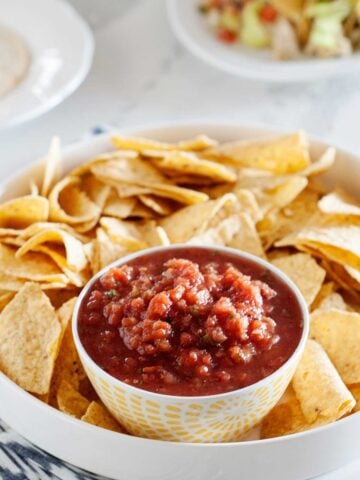
Learn how to can salsa with my go-to salsa recipe for canning. I've made it for years using fresh tomatoes, and once you learn the process, you'll have homemade salsa ready whenever taco night calls.
Jump to:
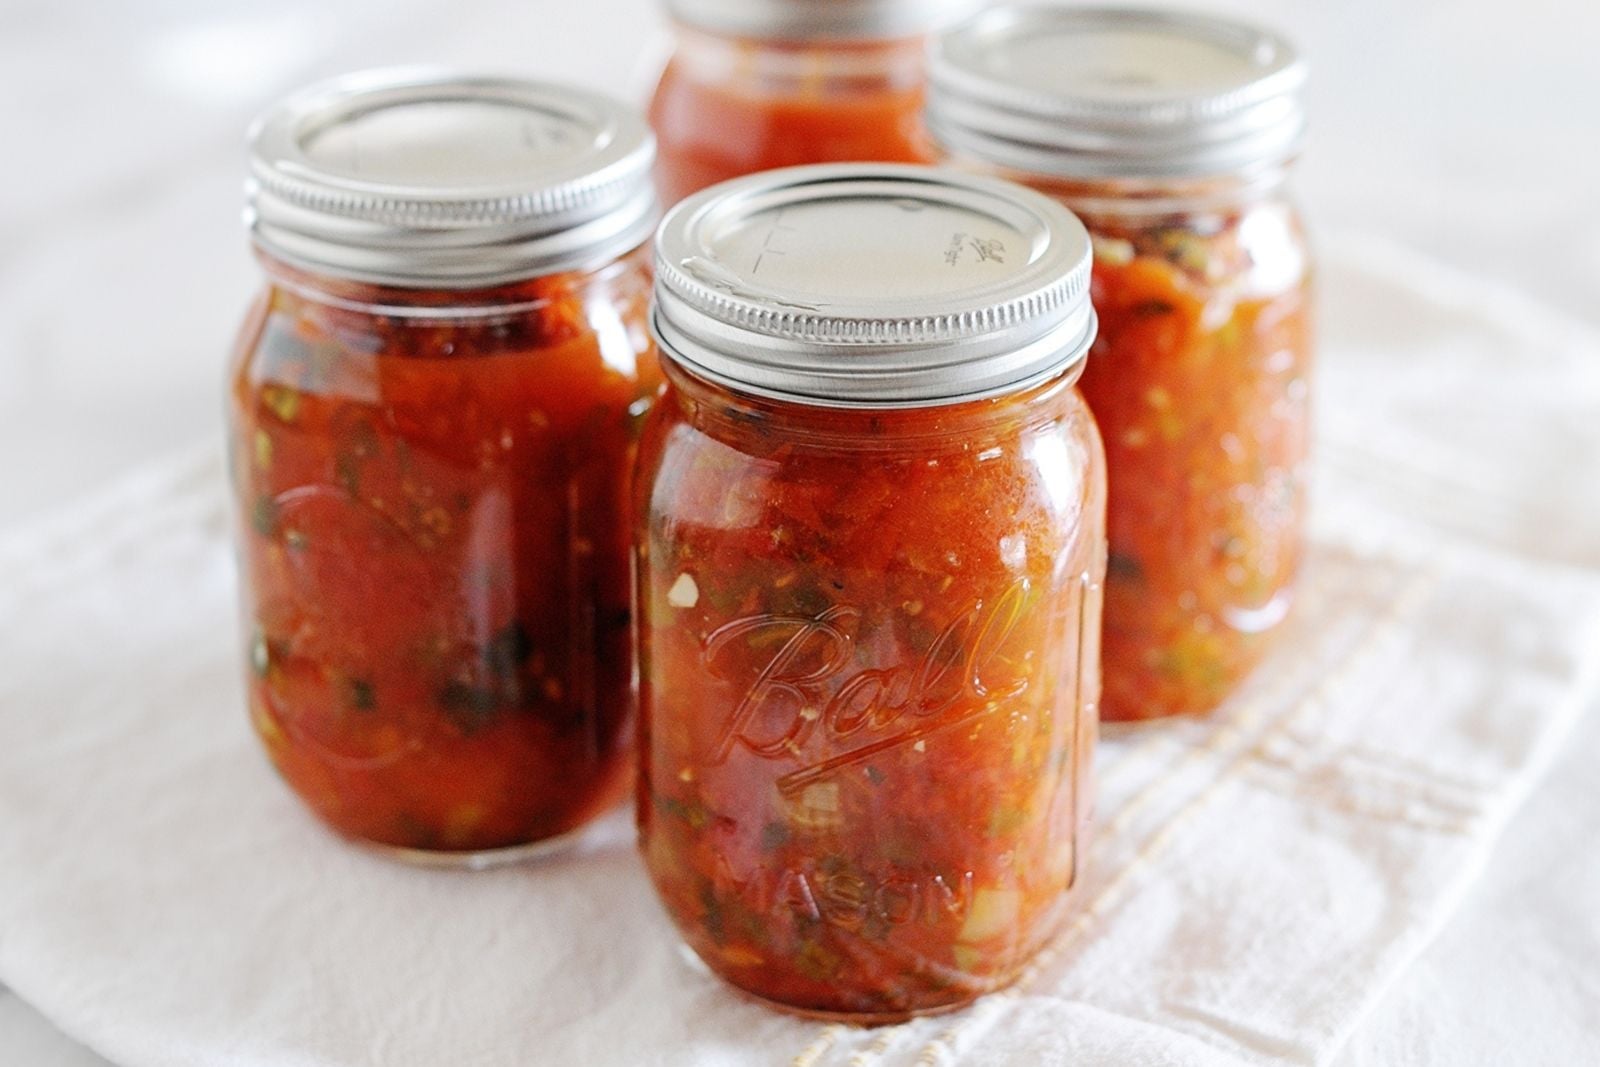
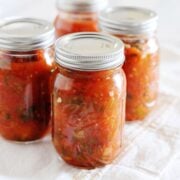
Salsa Canning

I had the opportunity to learn how to can salsa from the experts at Ball Home Canning back in 2018, and it's one of those skills I've used every summer since. My mother-in-law grows more garden tomatoes than we could ever eat fresh, so now we spend a summer afternoon turning them into homemade canned salsa using the original tested Ball canning recipe you'll find below. When canning, I always stick to tested recipes, and this one has safely preserved our summer tomatoes for years. Here, you’ll find my own step-by-step photos and a video, practical tips, and answers to the questions readers ask most, so you can confidently can your first batch too.
What Do You Need to Can Salsa
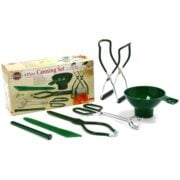
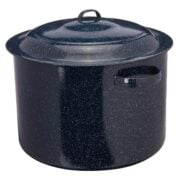
When I first started canning, the equipment felt just as intimidating as the process itself. The good news is that you don't need a specialty kitchen or dozens of gadgets, and if you’re only canning one batch, you probably own most of what you need. A large canning pot (or the biggest one you have), canning jars, a jar lifter, a funnel, and this recipe are all you need to confidently can your first batch of salsa. I've linked my tested favorites in the equipment recommendations below
How to Remove the Skins from Tomatoes for Salsa
Unlike making fresh salsa, all tested canned salsa recipes require peeled tomatoes for the best texture. You can do this two ways: blanching them in boiling water one by one, or roasting as many as you can fit on a sheet pan until the skins practically slip right off. The recipe card covers both, and below, a bit more on roasting, since it’s easier and my favorite way to peel tomatoes in bulk.
How to Roast Tomatoes for Salsa
If roasting tomatoes sounds like something a grandmother would do, I’m here to say that mine did! She used this method when cooking with fresh garden tomatoes because it’s simple, and it works! You’ll:
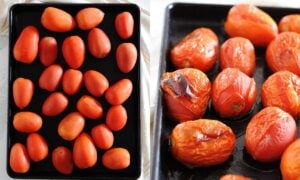
1. Arrange the tomatoes in a single layer on a large baking sheet.
2. Roast them for about 20 minutes until the skins become charred and begin pulling away from the flesh. Remove from the oven.
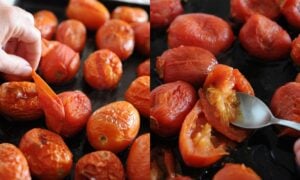
3. Let the tomatoes cool until you can comfortably handle them. At that point, the skins will peel right off with your hands!
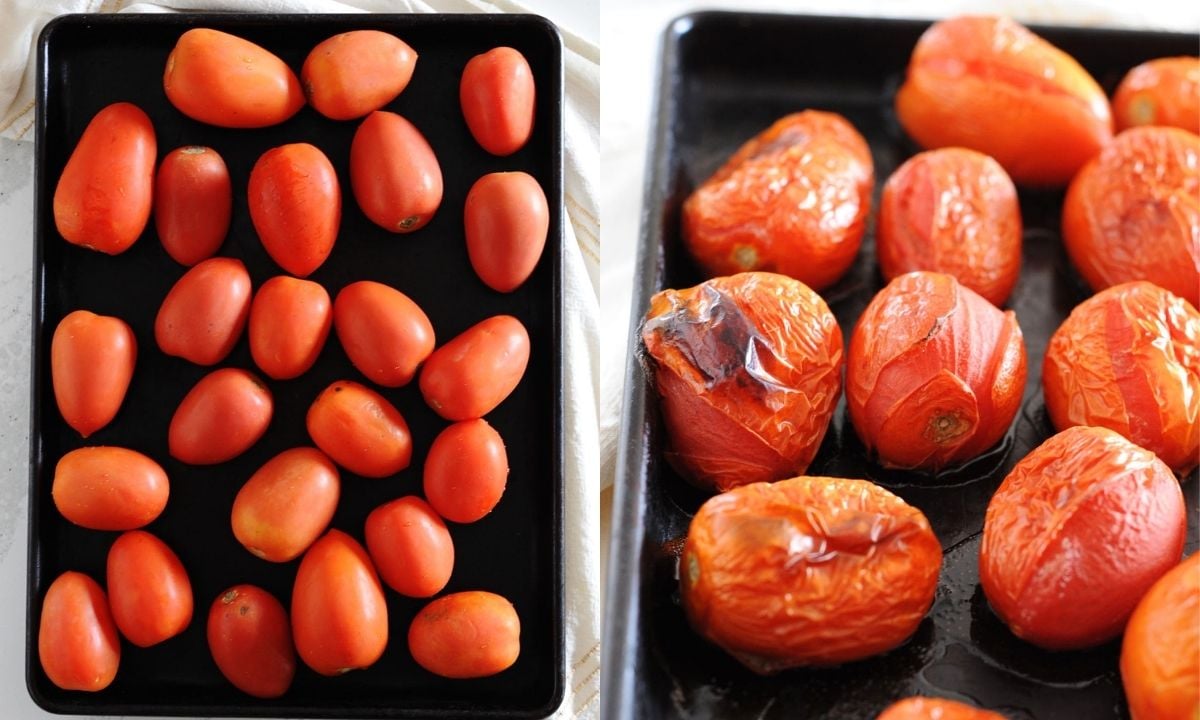
As a bonus, roasting doesn't just make the tomatoes easier to peel. It also caramelizes their natural sugars, giving your canned salsa a richer, deeper tomato flavor.
Which Tomatoes are Best for Salsa?
Roma tomatoes are the best choice for canned salsa because they're meaty, have fewer seeds, and produce a thicker salsa. If you're using garden tomatoes instead, choose ripe, meaty varieties and remove the core and most of the seeds before chopping.
How to Can Salsa
The recipe card includes every step in detail, along with a 5-minute video where I follow this exact salsa canning recipe. Here is a simple overview explaining why things are important:
- Peel the tomatoes and remove the seeds.
You can blanch or roast them; both methods work well for peeling tomatoes. Then, once they’re cool enough, slice them in half and scoop out the seeds and liquid. Adding them to the salsa will make it very runny. This step can be done ahead of time.

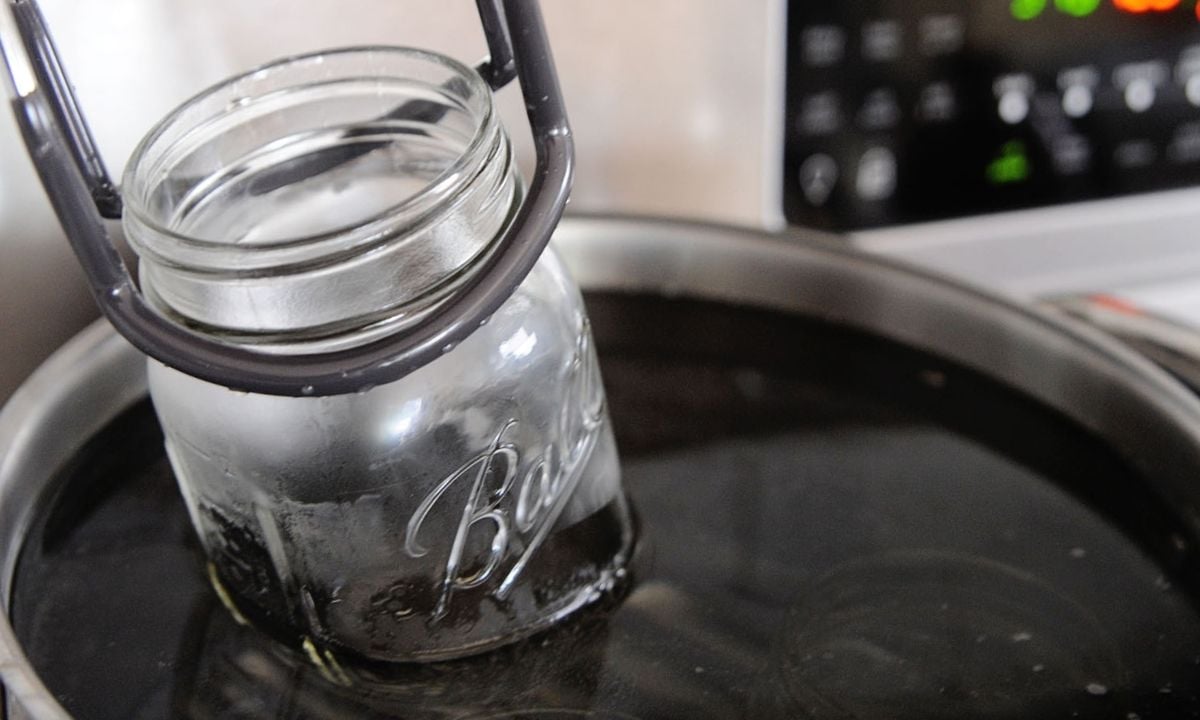
- Warm the jars while you prep the salsa.
Start by filling your canner with water and warming the clean jars in simmering water (180F) while you prepare the salsa ingredients. Keeping the jars hot helps prevent them from cracking when you fill them with the hot salsa later.
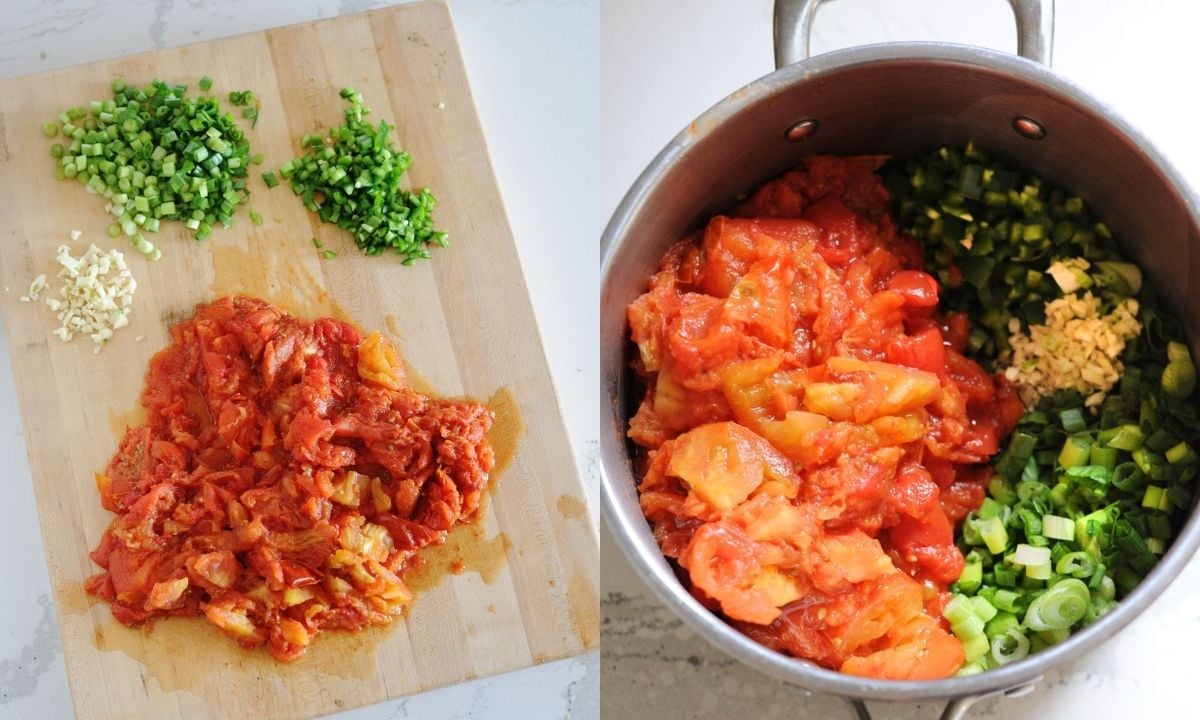
- Make the salsa.
Chop the tomatoes and veggies, then cook them with the other salsa ingredients for about 15 minutes, letting the flavors meld before canning.
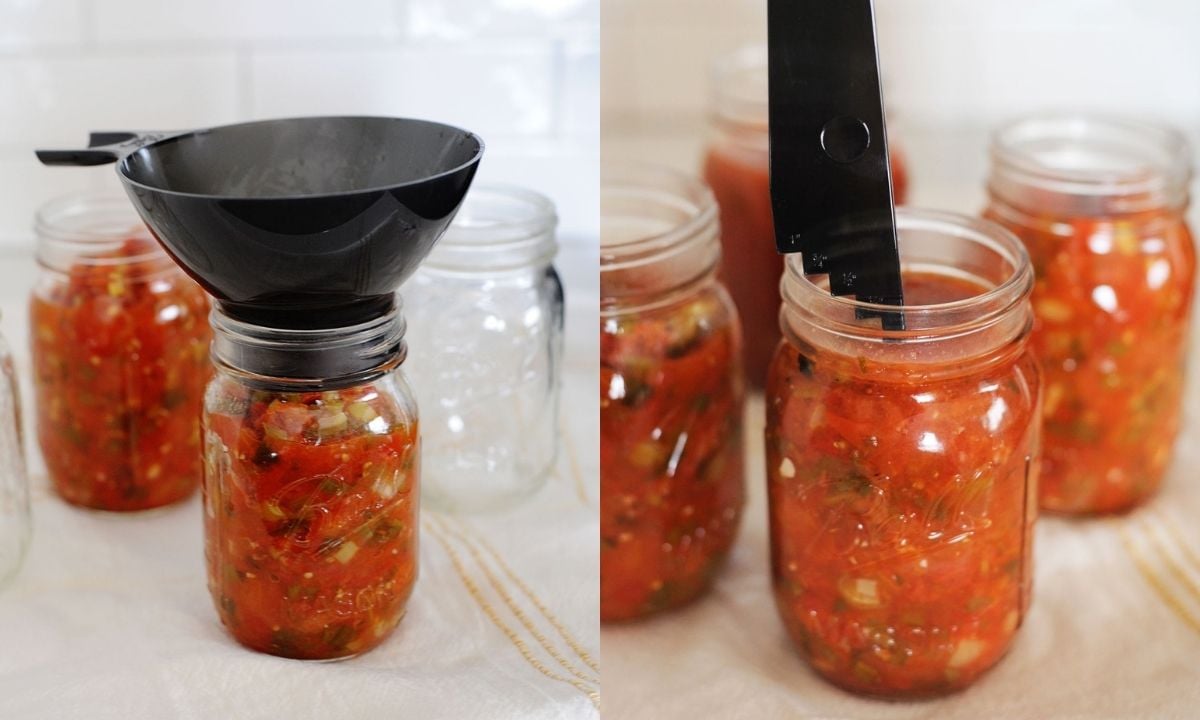
- Fill the jars, remove air bubbles, and close them.
Remove the jars from the canner, and fill them ½ inch from the top. Tap the bottom of the jar onto a towel to bring any air bubbles to the surface. Then wipe the rims clean before placing the lids on and tightening the bands until they're fingertip-tight.
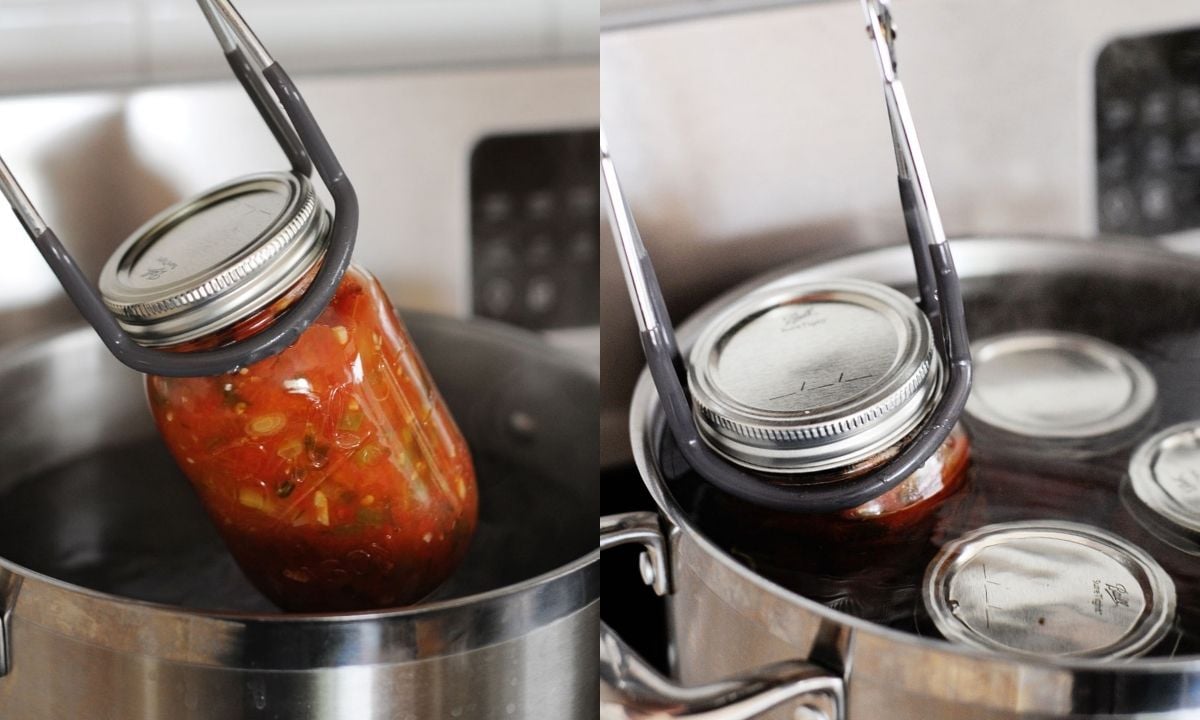
- Process the jars in the canner to seal them.
Lower the filled jars into the boiling water bath, making sure they're covered by at least 1 to 2 inches of water. This 5-minute step creates a safe seal that allows the salsa to be stored for months.
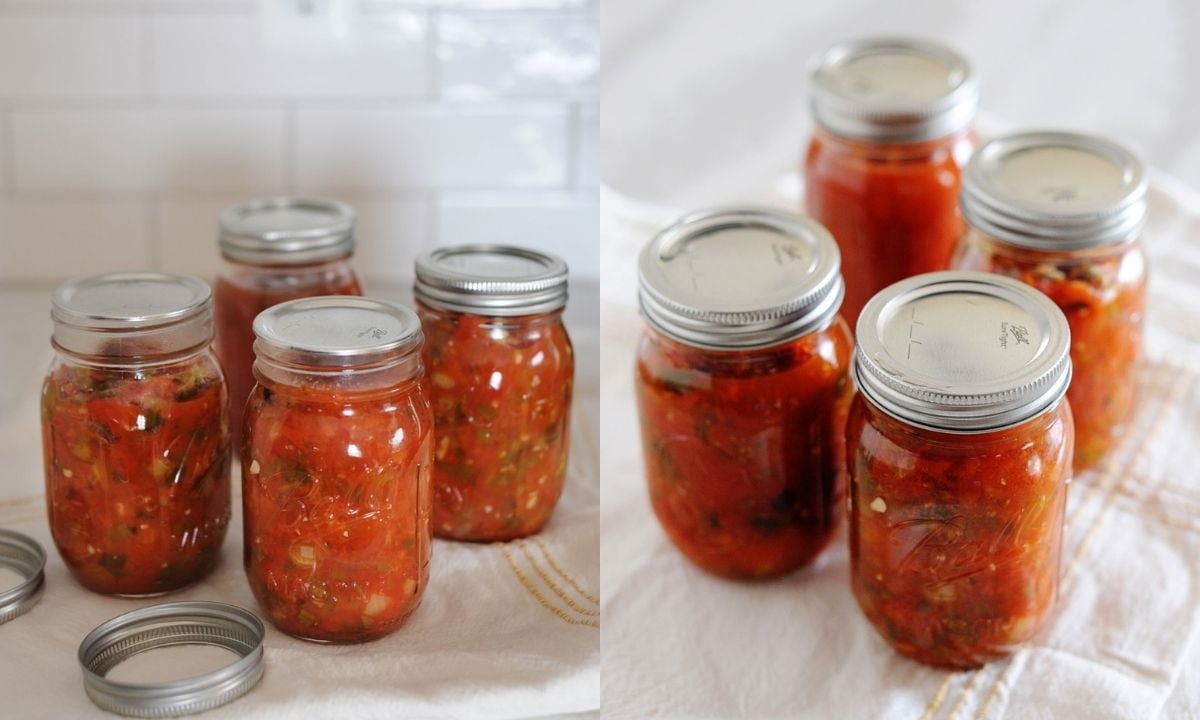
- Let them cool completely, test the seal, and store.
Remove them from the water with tongs and leave them alone for 12 to 24h. Then, check the seals with the flex test and by removing the bands, ensuring the tops are sealed to the rim. Every now and then, one jar isn’t sealed. In that case, I refrigerate the salsa and enjoy that one first. No, you should not re-can it.
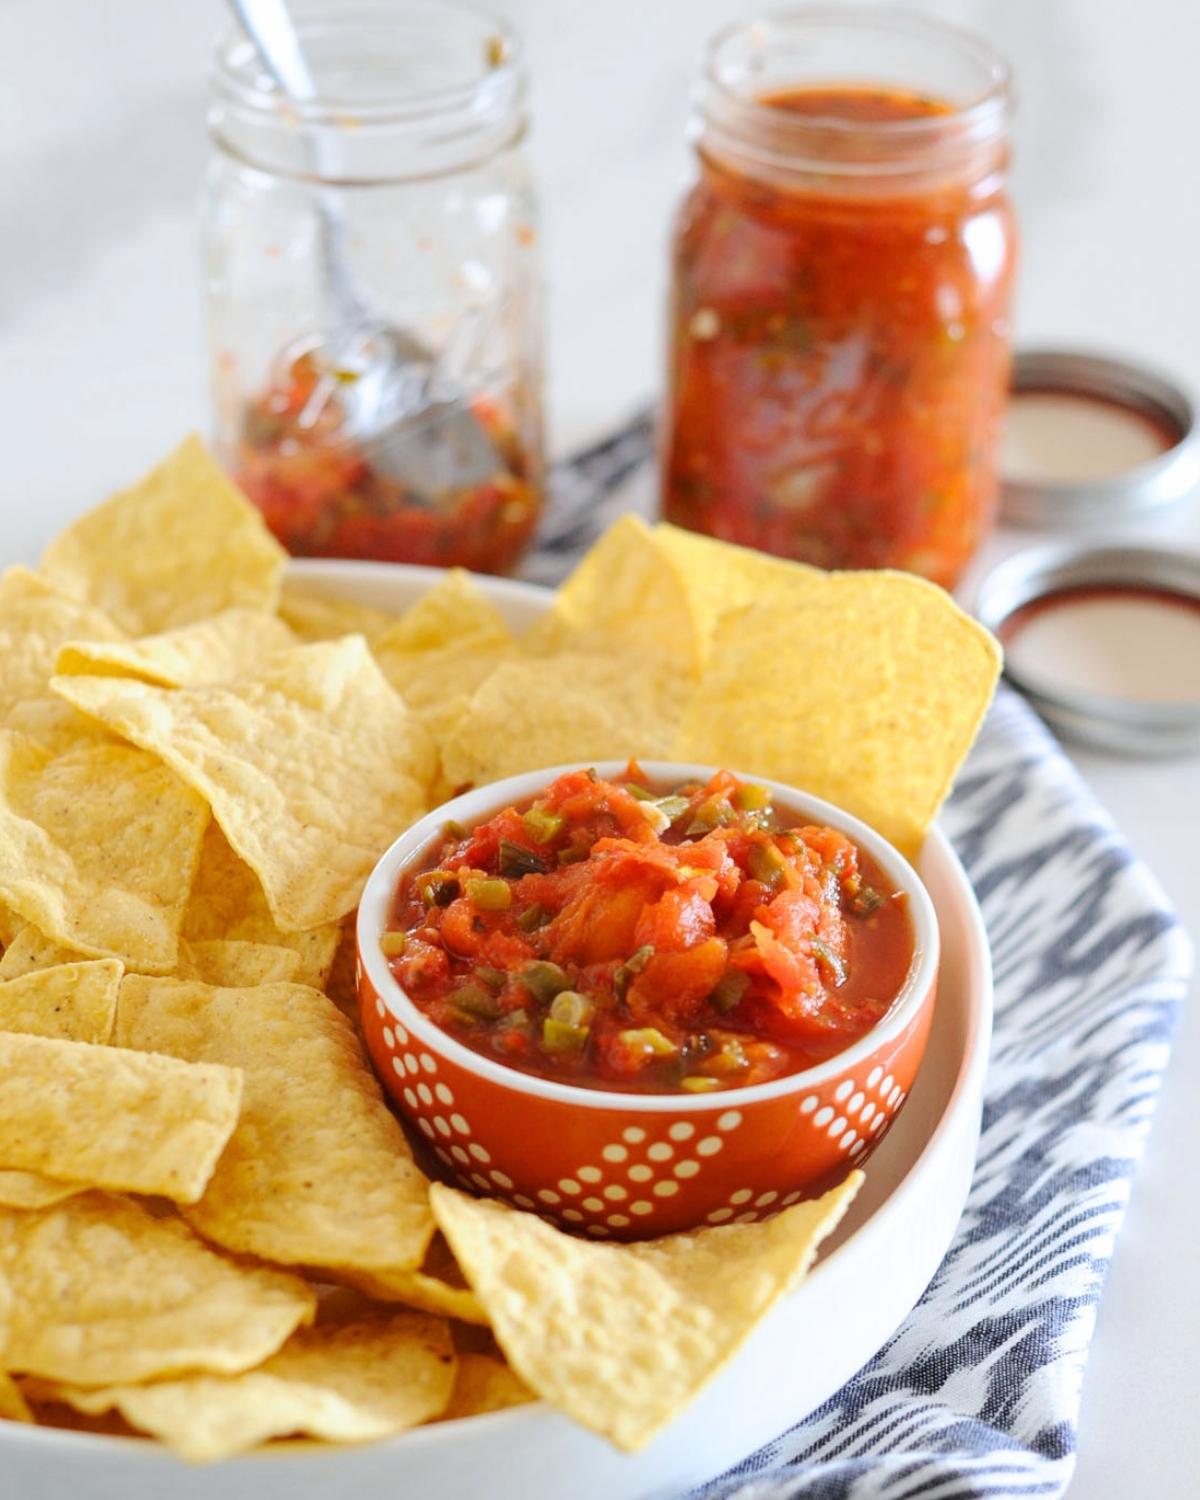
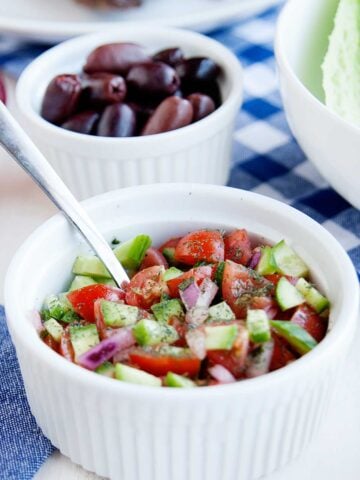
What Does Canned Salsa Taste Like?
Cooking the tomatoes and vegetables gives canned salsa a richer tomato flavor and a softer texture than fresh salsa (pico de gallo). Think of it like the salsa you'd find on the grocery store shelf, only made with your own fresh tomatoes and exactly the way you like it. This recipe is mild-to-medium heat, but you can make it spicier by adding more jalapeños and milder by omitting the seeds.
How Long Does Canned Salsa Last?
One of my favorite things about canning salsa is opening a jar in the middle of winter and tasting tomatoes picked at their peak just a few months earlier.
- Unopened: Properly sealed canned salsa keeps its best quality for 12 to 18 months when stored in a cool, dark pantry. I like to write the canning date on each lid so I can use the oldest jars first.
- Opened: Once opened, refrigerate the salsa and enjoy it within 2 weeks.
Canning Salsa FAQ’s
With millions of readers using this canned salsa recipe over the years, many questions have come up about how to make the perfect jarred salsa. Here are the answers to the questions I get asked most.
10 lbs of tomatoes is already considered a large batch, so I don't recommend doubling the recipe in a single pot. Large batches take longer to heat through, which can affect both the texture and the consistency of the salsa. For best results, make one batch at a time.
No. The vinegar isn't there for flavor; it's there for safety. This tested recipe uses the correct amount of acid to safely preserve the salsa during water bath canning, so don't reduce or omit it. You won't taste the vinegar in the finished salsa.
Yes. The vinegar provides the acidity needed to safely preserve the salsa. Tomatoes alone aren't consistently acidic enough for safe water bath canning, which is why this recipe includes vinegar.
Sort of. Always use bottled lemon or lime juice because its acidity is standardized, unlike fresh citrus, which can vary. Make sure it’s not expired or opened for more than 14 days.
Yes. Cooking the salsa is part of the canning process. It heats the ingredients before they're packed into the jars and helps ensure the recipe is safe for water-bath canning and long-term storage.
There are two safe ways to can food: water bath canning and pressure canning. This canned salsa recipe uses the water bath method because it's the safe, tested option for high-acid recipes like this one. The vinegar, processing time, and heat work together to safely preserve the salsa and create a vacuum seal.
Yes, for the best texture. Tomato skins become tough after canning, so I always peel them first. Roasting is my favorite method because it's the fastest and easiest way to peel a large batch.
If you prefer a smooth salsa instead of chunky, blend it with an immersion blender right in the pot before filling your jars. You can also carefully transfer it to a blender or food processor and pulse until it reaches the consistency you like, just like in my restaurant-style blender salsa.
No. It tastes like the jarred salsa you'd buy at the grocery store, only fresher and made with your own tomatoes. It won't taste like tomato sauce because it still has the peppers, onions, spices, and texture that make salsa… salsa.
Before opening the jar, check that the lid is still sealed and hasn't bulged. Once opened, the salsa should smell fresh and look normal, with no mold, fizzing, or liquid spurting from the jar. If anything seems off, don't taste it, just throw it out.
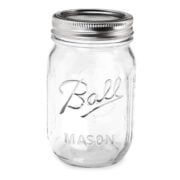
Best Jars for Canning
Use glass canning jars with new two-piece canning lids designed for home preserving. Pint (16-ounce) jars are the most common size for canned salsa, but quart jars work too if you prefer a larger jar. Regular- and wide-mouth jars are both safe to use, so choose whichever is easier for you to fill and clean. I've linked my tested favorites in the equipment recommendations below.
How to Can Salsa the Easy Way
Watch how it’s made:
Ingredients
- 10 lbs Roma tomatoes, about 16 cups of chopped tomatoes
- 12 green onions, chopped
- 4 jalapeno peppers, diced
- 8 cloves garlic, minced
- 1 cup white vinegar
- ¼ cup fresh lime juice
- ½ teaspoon hot sauce
- ¼ cup minced cilantro, about ½ bunch
- 4 teaspoons salt
- 4 16 oz pint or 8 Ball® (8 oz) half pint glass preserving jar, with lids and bands
Instructions
Prep:
- Fill the canner with water and bring it to a simmer over medium heat. Add the empty ball jars and simmer on medium-low heat until ready to use, making sure the water does not boil.
- Chop the green onions, jalapeño peppers, and garlic. Set aside.
Peel the tomatoes:
- Roasting method: Best for large quantities like this recipe. Place the tomatoes on 2 large baking sheets and roast in a preheated 450F oven for 20 to 25 minutes, until the skins are charred and begin to peel back. Remove from the oven and let them cool to room temperature.
- Blanching method: More time-consuming, a few tomatoes at a time. Bring a large pot of water to a boil and score a shallow X on the bottom of each tomato. Boil a couple of tomatoes at a time for 1 minute, then transfer them to a round slotted turner, tray, or sheet pan. Repeat with all the tomatoes, then let them cool down.
- Remove the skin from the tomatoes once they're cool enough to touch and lift the skin away from the tomato. Then, cut each tomato in half. Use a spoon to scoop out the seeds and juices. I usually let them drip onto the sheet pan since they're going to be discarded, then place the tomatoes on a chopping board. Adding them to the salsa will make it very watery. Dice the tomatoes.
Cook:
- In a 5-quart pot, add the chopped tomatoes, green onions, garlic, jalapeños, vinegar, lime juice, hot sauce, cilantro, and salt. Stir to combine and bring the salsa ingredients to a simmer (uncovered) over medium heat for 15 minutes, stirring from time to time. Turn off the heat.

Fill the jars:
- When the salsa is done cooking, remove the jars from the hot water (in the canner) and fill each with salsa, leaving ½-inch of headspace.

- Lightly tap each jar on a cutting board to release any air bubbles. Wipe the rim with a clean cloth, place the lid on each jar, and screw the band on until fingertip tight.Do not overtighten the bands. Air needs to escape during processing to create a proper seal.
Process:
- Lower the jars back into the canner, making sure they are covered by at least 1 to 2 inches of water.
- Bring the water to a boil and process the jars for 15 minutes. Remove the canner from the heat and let the jars sit in the hot water for 5 minutes before transferring them to a kitchen towel on the counter. This short rest helps reduce pressure changes that can cause liquid loss from the jars (and the lack of seal when you check them after 24h).

Cool & store:
- Leave the jars undisturbed on the counter for 12 to 24 hours before testing the seals. Do the flex test by pressing the center of each lid with your fingertip. If the lid flexes, it did not seal properly. If this happens to one jar, I usually just refrigerate it and eat the salsa within 2 weeks.

- Store sealed jars in a cool, dark pantry (or cellar) for 12 to 18 months. Refrigerate after opening; it keeps for up to 2 weeks.
Notes
- Each recipe batch will fill 4 pint (16oz) jars or 8 half-pint (8oz) jars.
- I would say this recipe yields a mild-to-medium salsa. To make it spicier, add 2 more jalapeños and their seeds.
The recommendations below may include affiliate links.


Sherri says
How long do I process this in a pressure canner?
Laura Fuentes says
Hi Sherri, I am not sure since I don’t use a pressure canner, I can only vouch for the cooking methods I used to make this salsa.
Holly says
I am excited to try this as you may this look more simple than most. I am new to the canning field. Here is my struggle, my husband is sensitive to onion and that’s why we are making our own salsa.
To go along with the salsa, my mother-in-law makes a yummy “Texas Caviar” which includes black eyed peas, jalapeno, and Italian dressing among other ingredients. Any thoughts on whether I could can that the same way as the salsa? Are there ingredients that should not be canned?
Laura Fuentes says
Hi Holly, I can’t provide directions on how to can the Texas Caviar, since I’ve never done it myself. If you want to make this salsa, you can omit the onions. Best of luck with canning!
Janet Lee Schultz says
I was going to try this recipe. I measured out 10 pounds of my ripe Romas on a digital scale and it came to much more than you show on your cookie sheet. Do you know why there is this discrepancy?
Ron Jones says
Can I add fruit to the basic recipe, such as peaches, pineapple or mangoes? If so, how?
Laura Fuentes says
you definitely can! diced small, up to 2 cups with this recipe. Enjoy!
Matt says
I’m going to try this however if it calls for 16 cups of diced tomatoes. That would already be 8 pint sized jars. How will this recipe only yield 4 jars of salsa with everything else added in?
Laura Fuentes says
Hi Matt, the tomatoes will cook down with the rest of the ingredients.
Mckenzie says
This a late resolution but I had the same question and sure enough, after it was all said and done I had just under 10 pints haha. It’s only “cooked down” for 15 mins, not nearly enough time to reduce volume by half! I did not remove seeds however, so maybe that made the difference. It did turn out amazing though, and I was really happy for the extra salsa!