
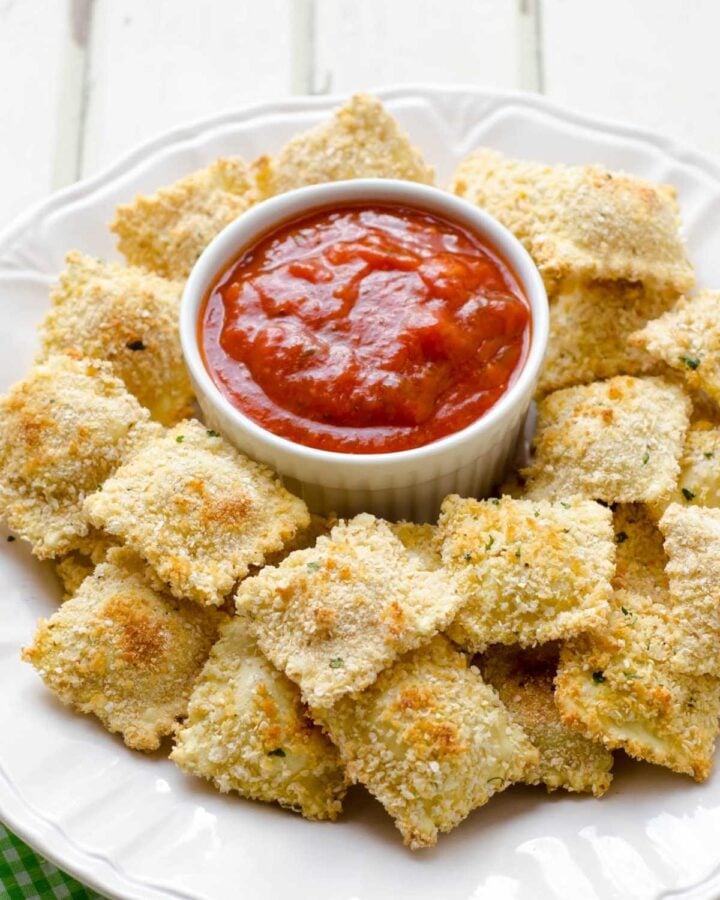
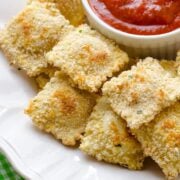
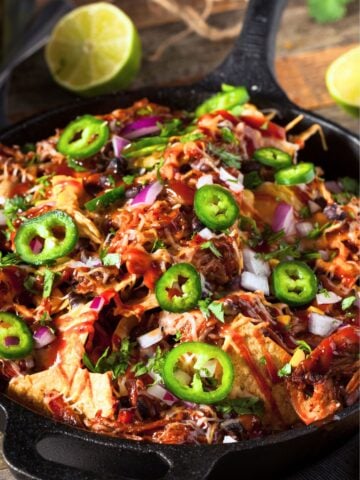
These toasted ravioli are breaded with Panko, seasonings, and Parmesan cheese, then baked to golden perfection.
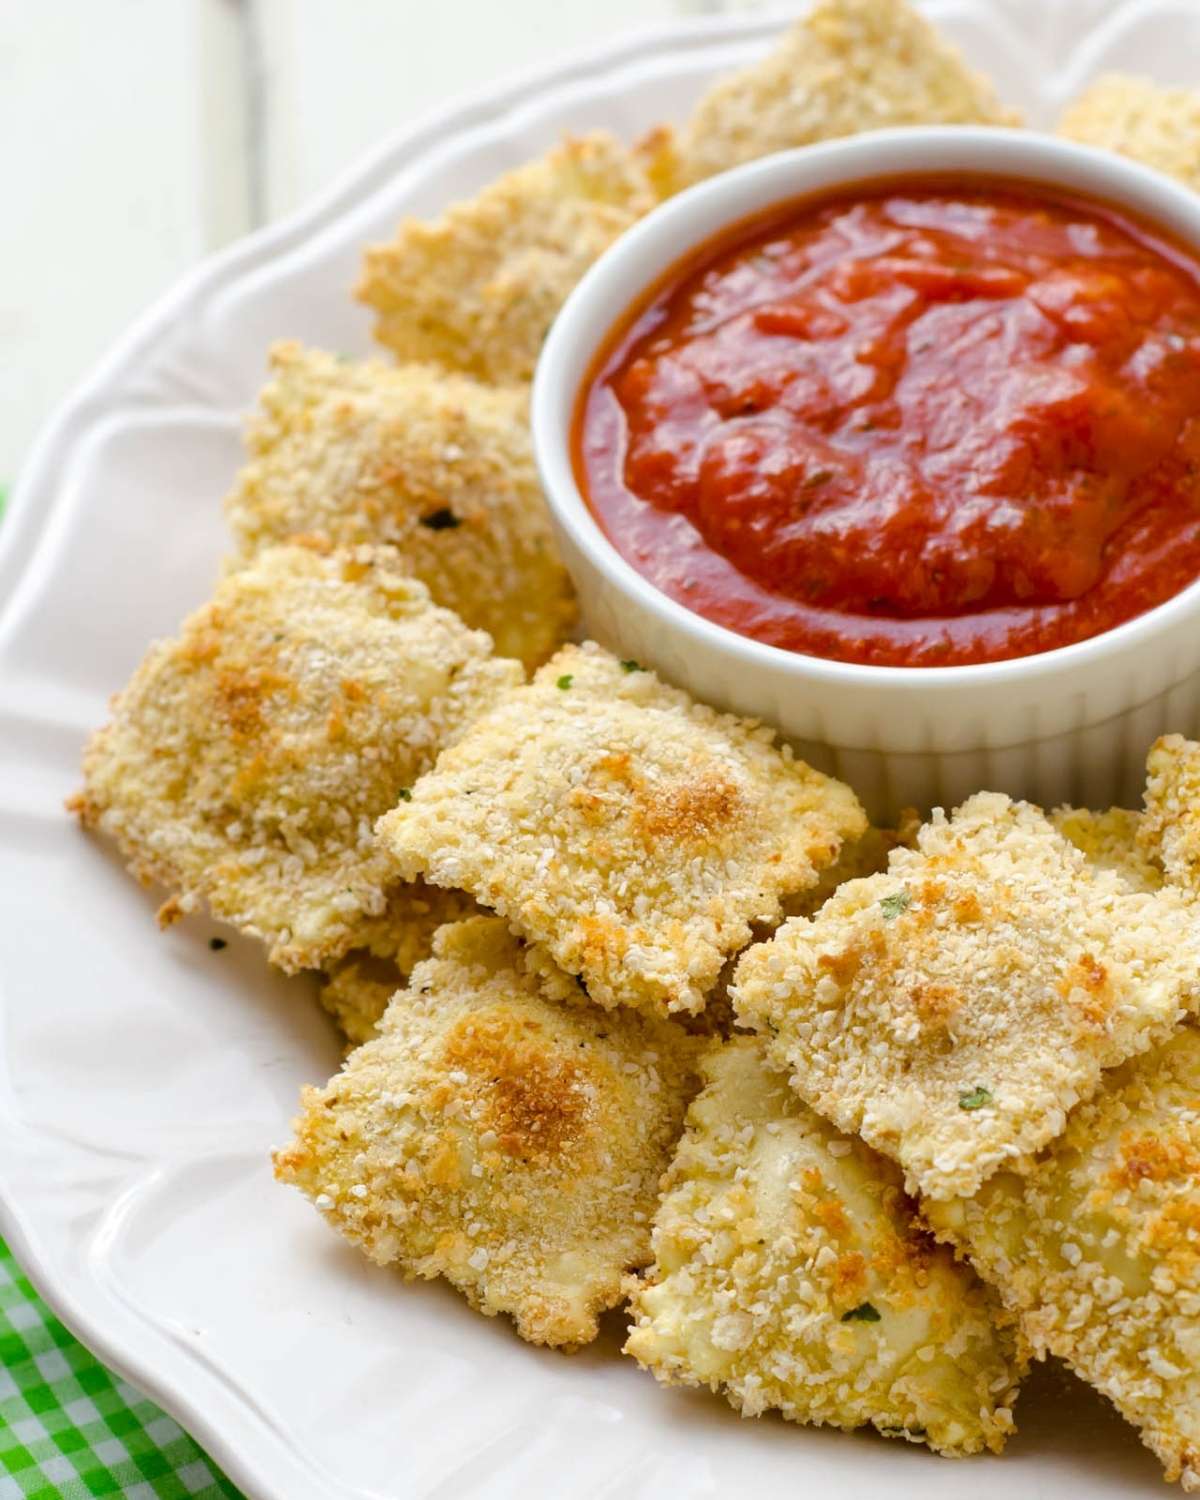
Crispy Toasted Ravioli
This Baked Ravioli recipe was inspired by a dish from a local restaurant that my kids love. I'm not a fan of frying foods at home, so I decided to bake them instead. The results were a HUGE success!
The oven gives the coating that perfect crunch when you bite in and makes the cheesy centers warm and soft.
Ingredients
You can make this recipe with fresh or frozen ravioli with your favorite filling. For a crispy breading, I combine Panko with plain breadcrumbs. The flavor comes from Italian seasoning, salt, and grated Parmesan cheese. Finally, you’ll need eggs to bind the breadcrumbs to the ravioli.
How to Bake Toasted Ravioli
Here's how to make toasted ravioli in the oven:
- Prep the breading.
In a shallow bowl or pie dish, combine the breadcrumbs, salt, Italian seasoning, and Parmesan cheese. In another bowl, whisk the eggs. - Cook the ravioli.
Cook them al dente, then let them cool so you can coat them more easily. - Coat the ravioli.
Coat 4 ravioli at a time, first with the eggs, then with the breadcrumb mixture on both sides. Place on a lined baking sheet. - Bake in a preheated oven.
For more crispiness, give the breaded ravioli a spritz with olive oil or baking spray. Bake for 15 minutes or until toasted and golden brown.
Laura’s Tips for Baked Ravioli
You can use frozen ravioli for this recipe; don’t confuse it with tortellini. One advantage of frozen ravioli is that they are already pre-cooked, so they don’t need as long to boil and are softer in the center.
You can also use fresh ravioli for this recipe, not to be confused with tortellini. You just need to add 2 minutes to your boiling time until the ravioli has an al dente texture.
To make this recipe GF, you’ll need gluten-free ravioli, fresh or frozen, as well as gluten-free Panko and breadcrumbs. I find that making your own gluten-free Panko breadcrumbs is easier than trying to find them at the store. It has the perfect, panko-like texture and gives breaded foods that crispy texture we love without gluten.
Once the ravioli are cooked and cooled, toss them with the breading and add them to a parchment-lined baking sheet. Freeze for 1 hour and transfer to a freezer bag. When ready to bake, follow the recipe directions above, adding 3 to 4 minutes to the baking time.
Some dipping sauces that go heavenly with baked ravioli are cheesy spinach dip, marinara sauce, homemade Alfredo, and homemade Velveeta.
I love packing these ravioli for lunch by baking them the night before, refrigerating them, and reheating them in the toaster oven the next morning. Then, I just pack them in a lunch container with dipping sauce.
Oven-Toasted Ravioli Recipe
Ingredients
- 1 ½ cups plain Panko breadcrumbs
- ¾ cup plain bread crumbs
- ¼ teaspoon salt
- 2 teaspoon Italian seasoning
- 1 tablespoon grated Parmesan cheese
- 3 eggs
- 24 frozen* cheese ravioli
- Olive oil spray
Instructions
Prep:
- Preheat the oven to 425F and line a large baking sheet with parchment paper.
- Combine the breadcrumbs, salt, Italian seasoning, and Parmesan cheese in a shallow bowl or pie dish.
- In a large bowl, whisk the eggs. Set aside.
Cook the ravioli:
- In a medium saucepan, bring water to a boil, add the ravioli and cook for 3 minutes. Drain and allow them to cool for 5-10 minutes.
Bread the ravioli:
- Working in batches of 4 ravioli, dip them into the whisked eggs, then toss them in the breading, making sure to coat both sides.
- Place the breaded ravioli in an even layer onto the lined baking sheet.
- Repeat the breading process with the remaining ravioli.
Bake:
- Spray lightly with olive oil or baking spray and bake for 15 minutes or until golden and crisp to the touch.
- Remove them from the oven and allow them to cool for 3 minutes before serving with your choice of dipping sauce.
Notes
The recommendations below may include affiliate links.


Nutrition


Charlie says
I’ve made this recipe a dozen times because my little girls love it and it’s easy to do. Tonight I started to prep and realized I was out of eggs! I used avocado oil instead and it still turned out great. Love this recipe so much
Laura Fuentes says
Brilliant! I’m so glad you saved the day.
Dawn says
If you want to make these ahead do you cook them first still or can you bread them frozen and put bake into freezer until ready to bake? Also could they be baked in an air fryer? Thinking these would be nice to have ready for when my 15 yr
Old comes home but I’ll have to double the recipe if I want them to last a few days.
Laura Fuentes says
An Air fryer would be great for this recipe! I would bread them and then freeze them for later cooking. And yes, definitely double the recipe with a teen!
Martha from Inside the Yellow Home says
I just wanted to pop on and let you know that I’m loving this recipe. I have a seriously picky eater on my hands and no time to make lunches in the morning before school. I’ll be trying your recipe soon and wanted to let you know that I’ve shared it over on my blog too. 🙂
Laura Fuentes says
I’m so glad it was enjoyed!
Kristy says
Laura – thanks a million for sharing this recipe. I had never seen anything like this but I made them (gluten free) the other day and they were absolutely delicious! My 6- year- old with celiac ate 10 of them! Now that’s a win! I’ll be making these on a regular basis
Kristy Carter
Laura Fuentes says
I’m so glad it was a success with your 6-year old! and everyone else too of course.
phyllis says
Every week my friend/neighbor and I get together for appetizers and wine — always looking for something special to serve and this is perfect: baked not fried!!! And of course this goes very well with our wine – thank you so much for this recipe.
Laura Fuentes says
Enjoy the time Phyllis!