
This quick and simple recipe for crustless pizza mini quiches adds flavor and variety to any meal. Check how to make them and all the packing tips!
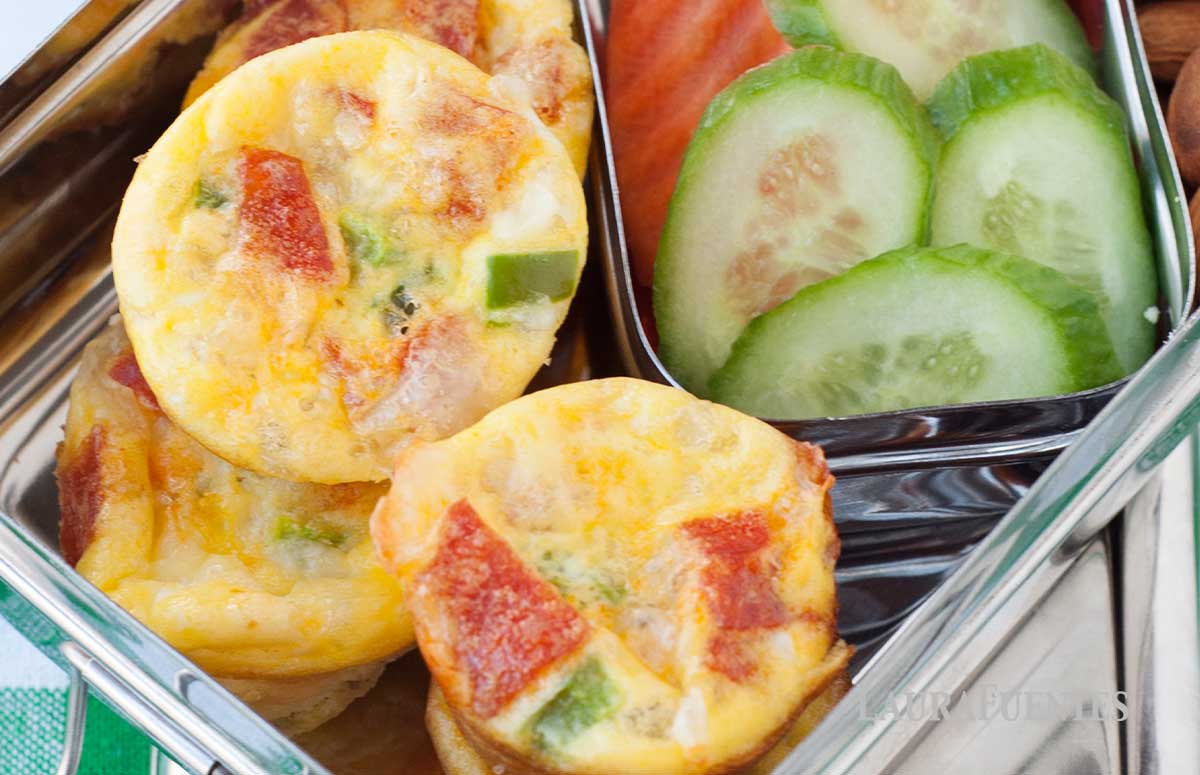
Crustless Mini Quiches with Pepperoni
My favorite family recipes are those that come together quickly, have relatively few ingredients, can be made ahead of time, and are simple enough for young kitchen helpers to assist in the making. Like these crustless pizza mini quiches!
Kids can help whisk the eggs, shred cheese, and even fill the mini muffin cups with the mixture. We make these quiches nearly every week. And each week one of my kids gets to pick what goes in them.
My daughter loves coming up with crazy combinations like broccoli and ham, tomatoes and bacon, and the biggest fail to date: apples and cinnamon (not a good combination with eggs). Some of the better ones were zesty mini quiches, spinach and bacon, and ham and cheese.
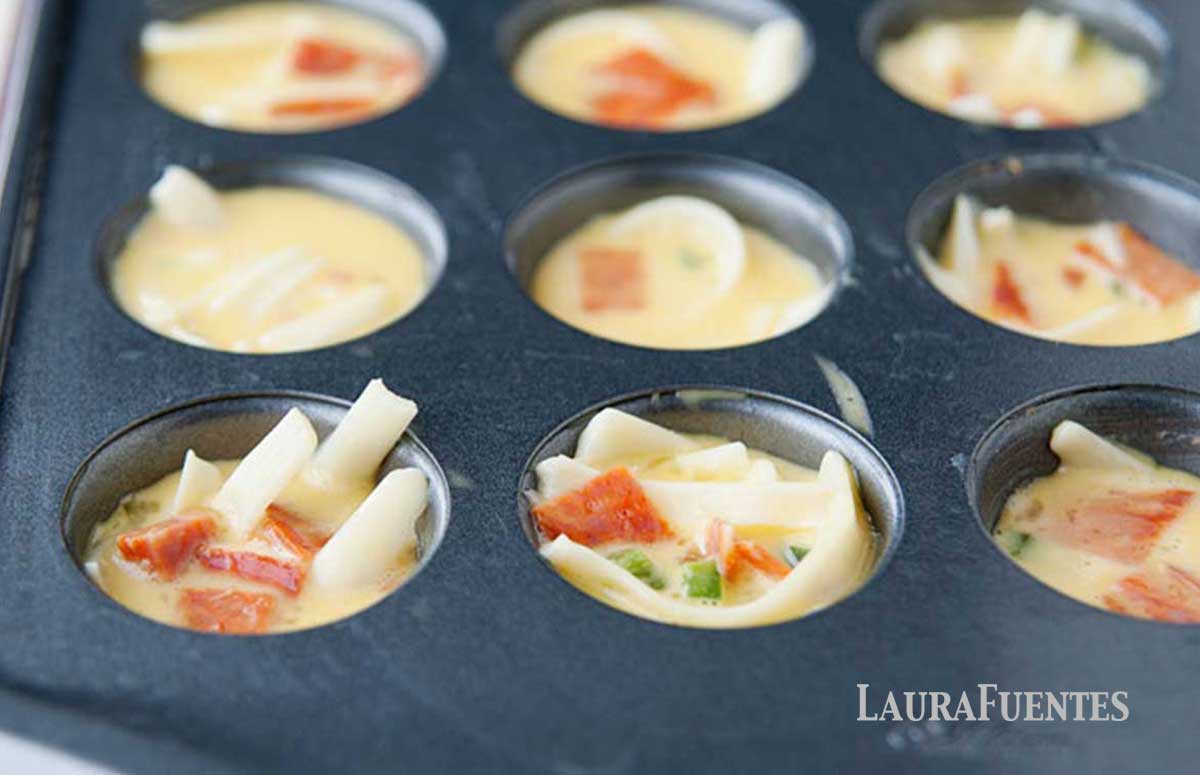
Ingredients
Just like traditional pizza, you can make these mini quiches with your favorite toppings. Eggs and milk are the base (instead of pizza crust) and the variety of toppings you can add in is unlimited! Here’s what I included this time:
- Eggs: essential to bind the ingredients.
- Milk: any dairy or non-dairy milk.
- Pizza toppings: I usually add pepperoni and olives, you can add your favorites. If adding meat, make sure is cooked. More ideas below.
- Shredded cheese: mozzarella, cheddar, Swiss, or any other cheese you like!
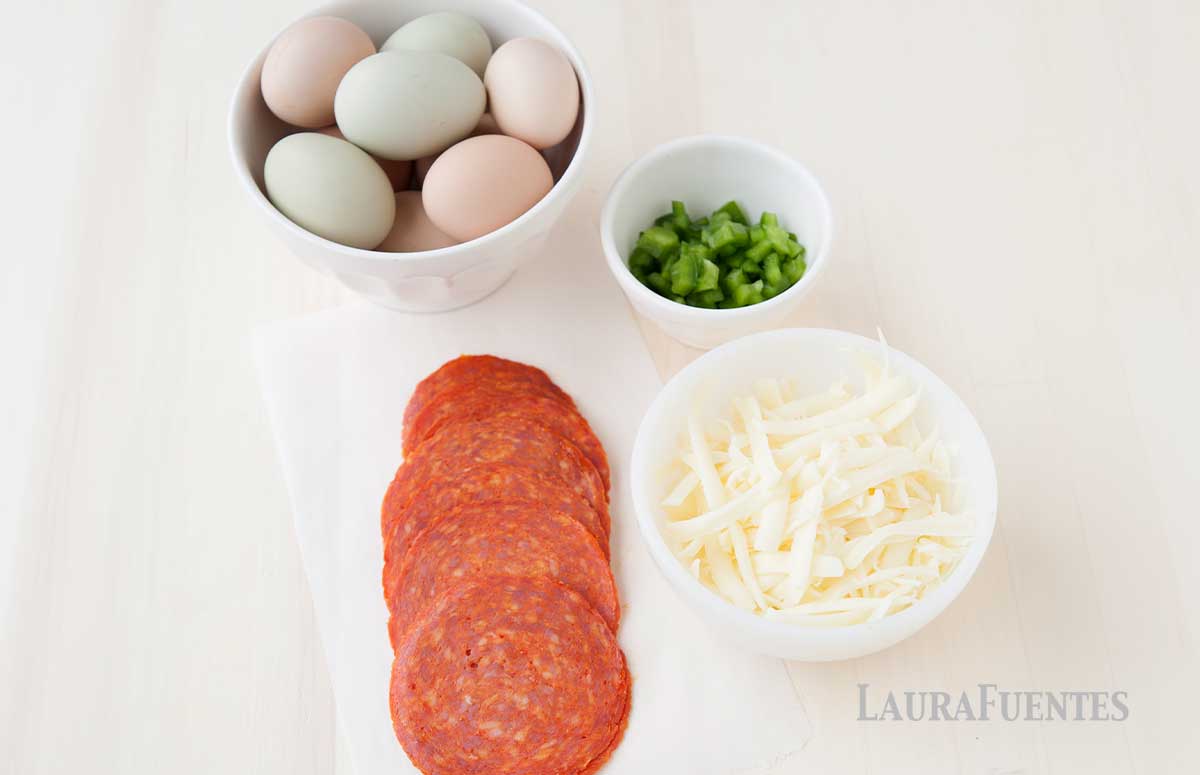
How to Make Pizza Mini Quiches
Before jumping to the printable recipe card, take a look at the steps and tips to make these crustless pizza mini quiches and you’ll see why it is so easy to involve the kids in the process:
- Prep
Preheat the oven and grease a muffin pan. You can use a 24-cup mini muffin pan or a regular 12-cup muffin pan. - Combine
Whisk eggs with milk, and then add cheese and the pizza toppings. - Bake
The baking time will vary depending on the size of your muffin pan. - Enjoy!
Allow them to cool down before serving or packing for lunch.
Check out how easy it is to make these pizza mini quiches in this quick video:
Best Mini Quiche Mix-Ins
These mini quiches are great to open the fridge, check what leftovers you have, and use them in this recipe! Here are delicious and nutritious mix-ins ideas:
- Olives
- Pepperoni
- Mushrooms
- Cooked bacon
- Ham
- Sausage
- Cottage cheese
- Carrots and zucchini
- Bell peppers
- Spinach
- Salsa
- Pico de gallo
- Peas
- Black beans
Storing and Reheating Leftovers
Whether you have leftovers or bake them to enjoy during the week, allow them to cool down, place them in an airtight container or zip bag, and store them in the fridge for up to 3 days. Microwave them for 30 seconds to reheat.
You can also freeze these pizza mini quiches for up to 2 months inside a freezer-safe zip bag and reheat them in the microwave for about 1 minute.
How to Pack Mini Quiches for Work Lunch
Mini quiches are a terrific meal builder you can eat at room temperature or warm. To enjoy them cold, store them in the main compartment of your lunchbox. If you want them warm, microwave for 1 minute, flipping them halfway through. Transfer immediately to a thermos container and close the lid.

Pizza Mini Quiches

Ingredients
- 6 eggs
- 3 tablespoons milk
- 1 cup of your choice of pizza toppings, chopped
- 1 cup shredded cheese
Instructions
Prep:
- Preheat oven to 350 degrees and grease 24 count mini muffin pan or a regular 12-cup muffin pan.
Combine:
- In a large bowl, whisk eggs and milk. Add in chopped pizza toppings and shredded cheese. Mix to combine all ingredients.
- Distribute egg mixture evenly into muffin pan cups.
Bake:
- Bake for 15-18 minutes. If using a regular-sized muffin tray (yields 12) the baking time is approximately 26 to 28 minutes.
- Allow mini quiches to cool in pan before carefully removing with a small knife or spatula.
The recommendations below may include affiliate links.




Jennifer F says
I love this recipe! I usually make lunches on Sunday night for the week. One of my kids wants to eat the same thing every day and the other wants to mix it up mid week. I like to allow the kids to pick one thing in their lunch for the day and I pick the rest. Then we see which item comes home and why. That helps me figure out other ways to get them to try the foods I want them to try. Ironically my son will typically bring home the item he picked and say he doesn’t like it anymore.
sharon says
I absolutely love this idea! Just found out my youngest has a gluten intolerance and both of my kis are very picky eaters. So we are trying to incorporate a whole new way of eating and introducing my kids to lots of different foods. I’m definitely going to make these 🙂 I love the lunchbox; can you tell me what brand it is? Thanx!
Sharon
Laura Fuentes says
I am so glad you can use this idea Sharon! The red lunchbox pictured is a Yumbox.
Devon says
How about the silver one that isn’t plastic in the main picture?
Laura Fuentes says
If you want non-plastic containers, check these out: http://bit.ly/ShopLunchbots
Meggan | Culinary Hill says
What a great recipe idea! My husband, the pickiest eater I know, thought these sounded great. He might consider dipping them in pizza sauce to bring everything full circle. Might be a hard sell on my toddler at first, but an article I read recently suggested that I have to get my toddler to taste something 14 times before I give up on it. So he’s bound to come around. He used to be such a great eater and has gotten pickier as he approaches Age 3, but I’m confident it won’t last! He definitely loves poking around in the kitchen and even he can wash vegetables in the sink. Thanks for another great lunch idea!
Laura Fuentes says
Meggan, you definitely have the right attitude. We must continue to introduce foods, repeatedly, to our kids. That’s the only way to get them to learn to taste more foods. Glad you could use another idea!
Ciao Florentina says
What a cute idea! love it!
Chris Hibbert says
Awesome idea Laura. Low carb for those who want/need such a thing. Thanks for your good posts.
Laura Fuentes says
Thank you Chris!
Lori says
I get the kids involved by giving everyone a job to do in the kitchen. Whether it’s helping chop veggies (I have boy/girl 13 year old twins), unload or load the dishwasher, set the table, cook, or whatever everyone has a part. They also love helping to make homemade pizza with the toppings of their choice.
My prep ahead tip is that I like to prepare as much ahead a time as I can with their school lunches & mine too since I am a teacher. When I buy grapes for example I go ahead and put them into containers or snack size ziploc bags so the kids & I can grab and go in the mornings to add to our lunches. I do the same with veggies like carrots, cucumbers, celery, cherry tomatoes, and broccoli. My kids also love boiled eggs in their lunchboxes so I will boil those on the weekend & put in the fridge then we have boiled eggs all week whether it goes in their lunch or for a snack. 🙂 I have two containers in my fridge that is designated for lunch items only. This helps the kids when they are grabbing items to go in their lunchboxes in the am so there is no confusion since I leave the house before my kids.