This post may contain affiliate links. Read our disclosure policy here.
If you love hummus half as much as I do, you will thoroughly enjoy this easy recipe.

Mediterranean Hummus Crostini
Most people think hummus is meant to be dipped; and while that is true, I love to do all sorts of things with my hummus! Hummus and entertaining go hand in hand and this Hummus Crostini Appetizer is one of the easiest you can serve, and your guests will love it.
I like simplicity. I like fool-proof recipes that don’t need much “measuring”. I love Mediterranean flavors… so this is one recipe I will make often, even if I have no guests.
This is what happens when you think “outside-of-the-dip”. You spread the classic creamy hummus on a crispy crostini (a fancy word for toasted French bread), sprinkle it with olives, add a little feta cheese, and drizzle with olive oil! Super simple –it was harder to write it out than it was to make, I promise.
What’s the Difference Between Crostini and Bruschetta
Both appetizers involve slices of toasted bread with toppings, but the main difference between crostini and bruschetta is the type of bread used. Bruschetta is made with wide slices of rustic bread, like sourdough, while crostini is made with smaller, thinner slices of bread, usually of a finer texture, like French bread.
Classic bruschetta is often seasoned with garlic and olive oil, and topped with tomatoes and basil. Crostini, on the other hand, can be topped with different spreads, making a more versatile appetizer.

What You Need
You’ll find the ingredients’ measurements below, but this Hummus Crostini Appetizer is that kind of recipe where anything goes great! How much hummus you decide to spread is up to you. Here’s what you need:
- French baguette: to toast it in the oven.
- Hummus: your favorite store-bought or homemade hummus.
- Olives: any type of olives chopped or sliced.
- Feta cheese: adds more classic Mediterranean flavor.
- Olive oil: I prefer extra virgin olive oil, the better the oil the more delicious the taste.
- Sea salt and black pepper: for seasoning the bread.
How to Make Hummus Crostini Appetizers
This Hummus Crostini Appetizer looks fancy —well, it is… I am that kind of gal– but it’s ridiculously easy to make:
- Prep the oven
Preheat your oven to 350F. - Prep the bread
Slice your French baguette on a slight diagonal angle. Brush the tops with olive oil and place on a large baking pan (cookie sheet). Sprinkle each slice with a little coarse sea salt and freshly ground pepper. - Bake the bread
Place the baking sheet in the oven and bake for 12-15 minutes, carefully watching your crostinis around minute 12, since oven temperatures vary. Remove from oven when golden brown and let them cool. - Add toppings
Spread hummus on each crostini, garnish with Feta and olives, and drizzle with olive oil.

More Appetizers Using Hummus
Did I already tell you I’m slightly obsessed with hummus? That’s why I love to use it for all kinds of delicious appetizers, like these Greek Nachos, these BLT Hummus Cups, and this fun 7 Layer Greek Hummus Dip.
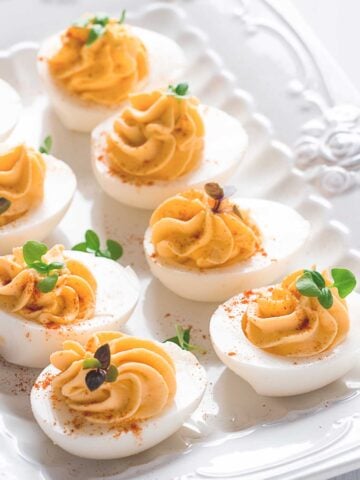
Hummus is also a terrific ingredient to give classics a twist, as I do in my Hummus Deviled Eggs recipe. Epic!
Hummus Crostini Appetizer

Ingredients
- 1 French baguette
- 7 oz hummus
- 1 cup olives, chopped or sliced
- ¾ cup Feta cheese
- Extra virgin olive oil
- Sea salt and black pepper
Instructions
- Preheat your oven to 350F.
- Slice your French baguette on a slight diagonal angle. Brush the tops with olive oil and place on a large baking pan (cookie sheet). Sprinkle each slice with a little coarse sea salt and freshly ground pepper.
- Place baking sheet in the oven and bake for 12-15 minutes, carefully watching your crostinis around minute 12, since oven temperatures vary. Remove from oven when golden brown and let them cool.
- Spread hummus on each crostini, garnish with Feta and olives, drizzle with olive oil.


A_Boleyn says
I now make my own hummus but I’ve tasted the Sabra brand and it’s delicious. Great post … having red pepper hummus crostini tomorrow on home made vietnamese banh mi. 🙂
Thomas says
Great post! Have nice day ! 🙂 hmmfs
Kelly @ The Nourishing Home says
YUM! This looks so fantastic, Laura! Love the photo of the chickpea plant. Sounds like you had a fun and delicious trip. Thanks for sharing with us! xo
Laura Fuentes says
Thanks Kelly! It was a lot of fun. I always enjoy learning more about where our food comes from 🙂